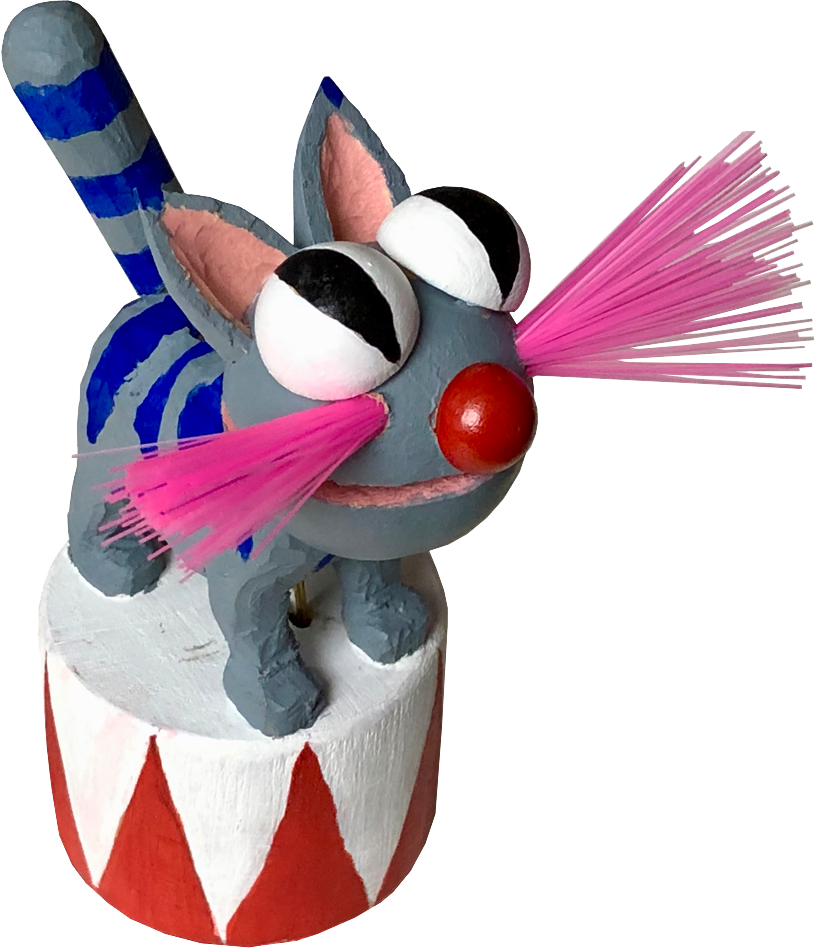
Ladies And Gentlemen, Boys And Girls, Children Of All Ages!
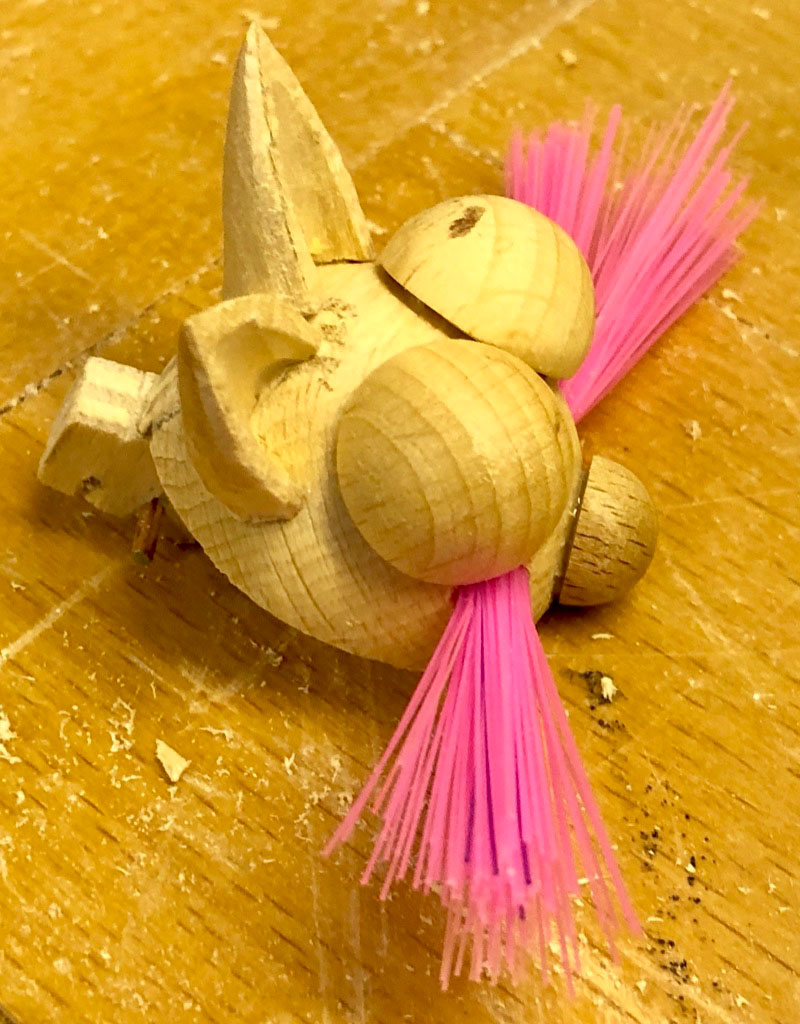
May I present to you a fantastically ferocious feline who can be persuaded to miaow on cue and can even wag her superior striped tail. Recently returned from an amazing tour with Kim’s Kabarett, she is eminently suitable for the smallest of lion tamers. I give you Magnificent Moggie the Circus Cat!
(Youtube link to the video is https://www.youtube.com/watch?v=eYXjcz8zUH4)
 What was the brief?
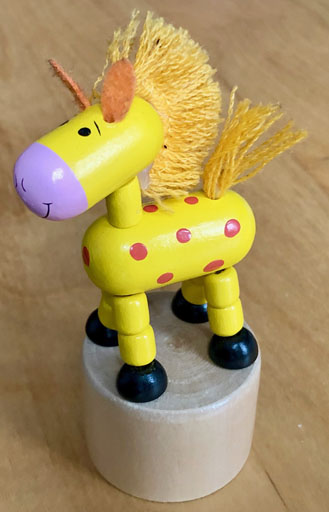
Thumb push puppets are classic toys which come in hundreds of variations, but they all seem to share the idea of something collapsing when you push the base in. Horses like this one are quite popular, when you push the base, it first lowers its head and when you push harder it flops completely down. Wooden toys like this usually use turned parts to keep the price down.
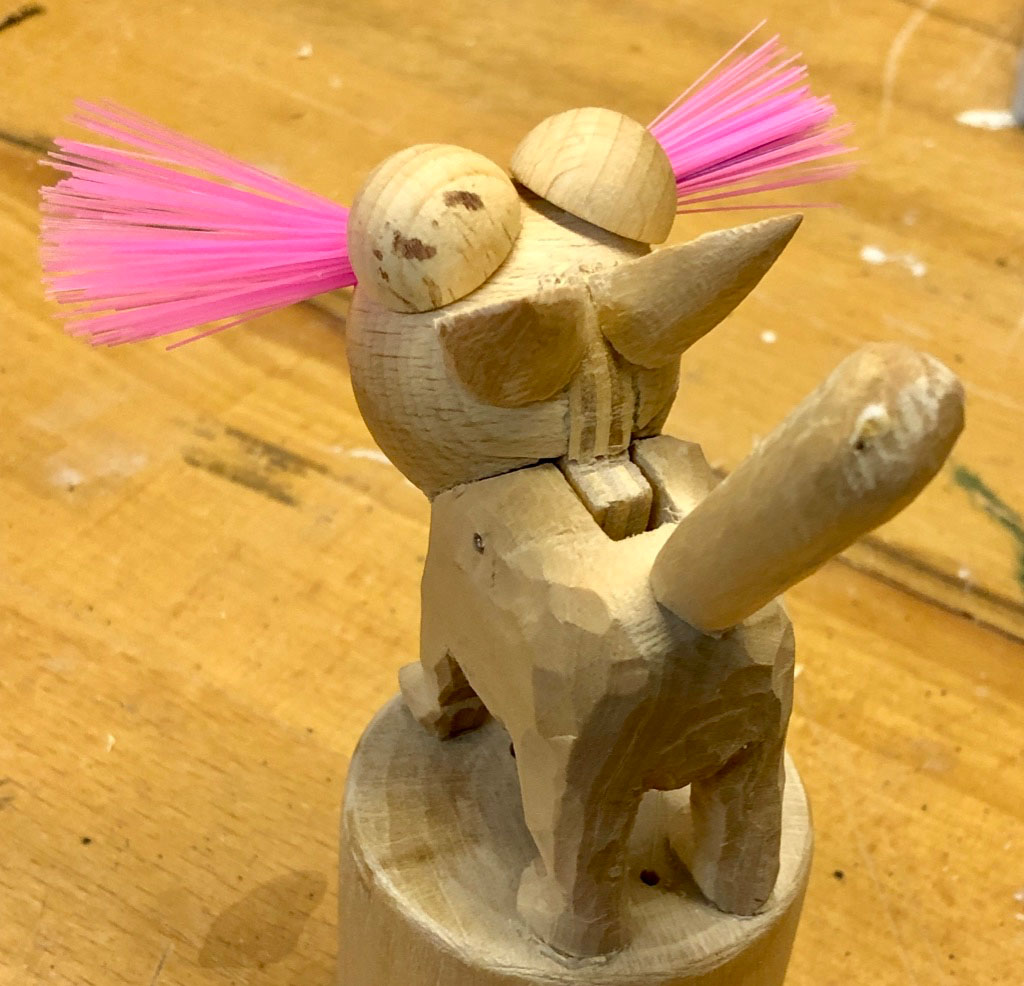
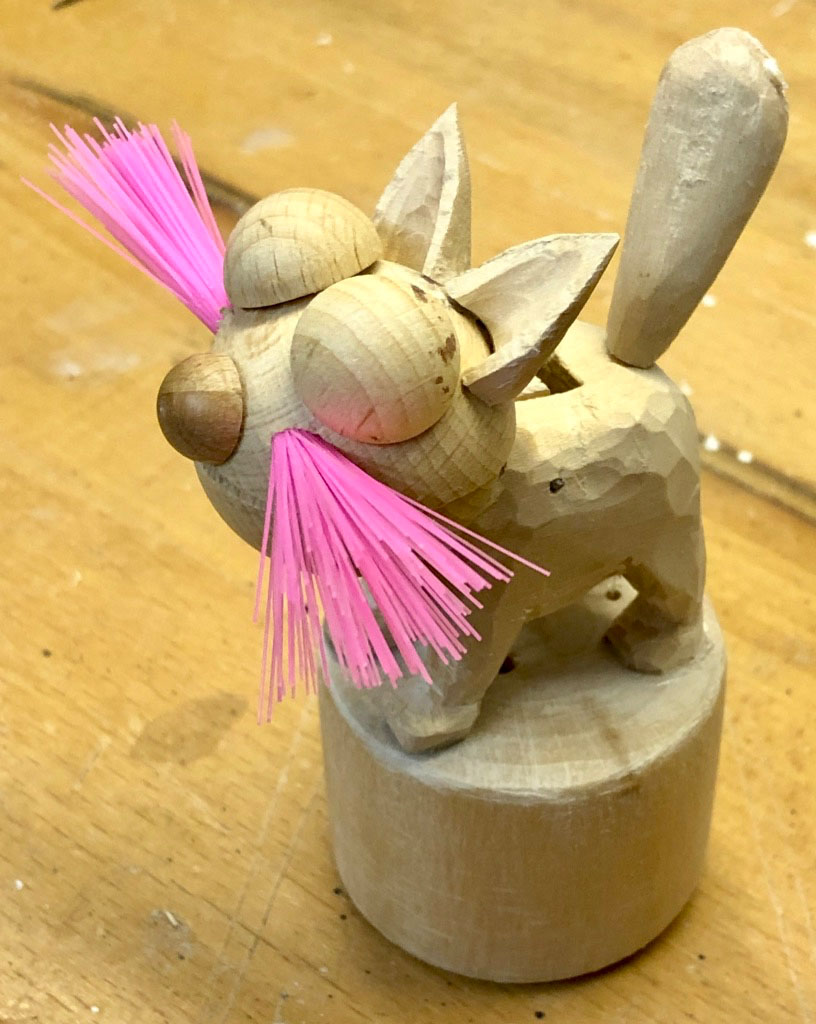
I thought why not make a thumb puppet which does something else besides flopping and decided on a cat. To give a reason for the round base I thought she could be a circus cat, waiting for her tamer’s command. Push the front of the base and it opens its mouth, push the back and its tail moves (flops). So what makes a cat a cat? Those distinctive cat’s eyes with the vertical, ellipse-shaped slits? Whiskers? Big ears, a bushy tail and stripes? Well that was my recipe for cattiness.
Rough design
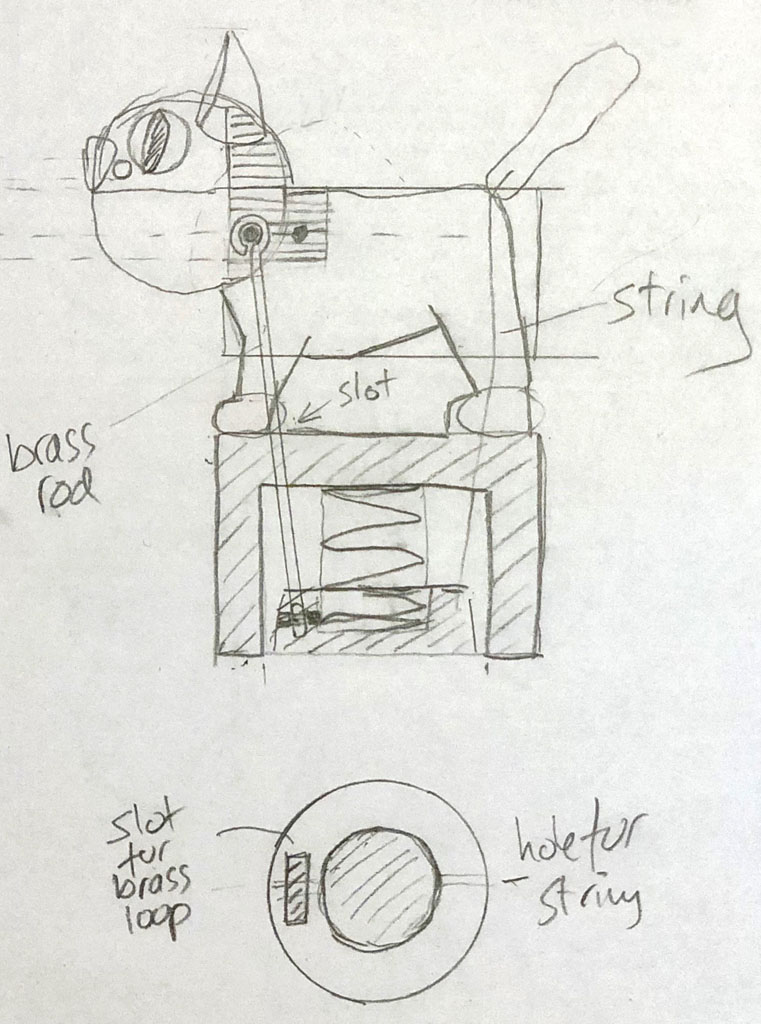
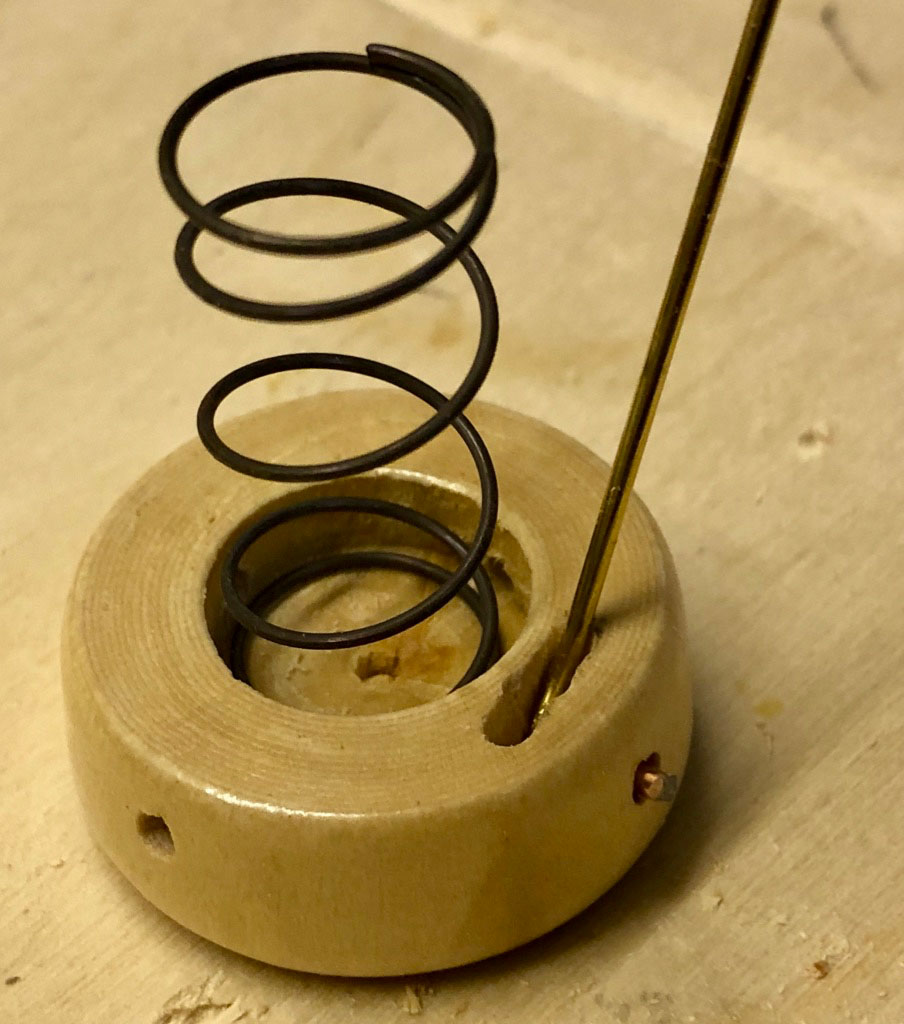
Here’s a rough sketch. The single spiral spring in the cylindrical base tries to expand, applying downward force
– keeping the tail proudly erect, via a piece of fishing line, which shouldn’t break with such a small fish
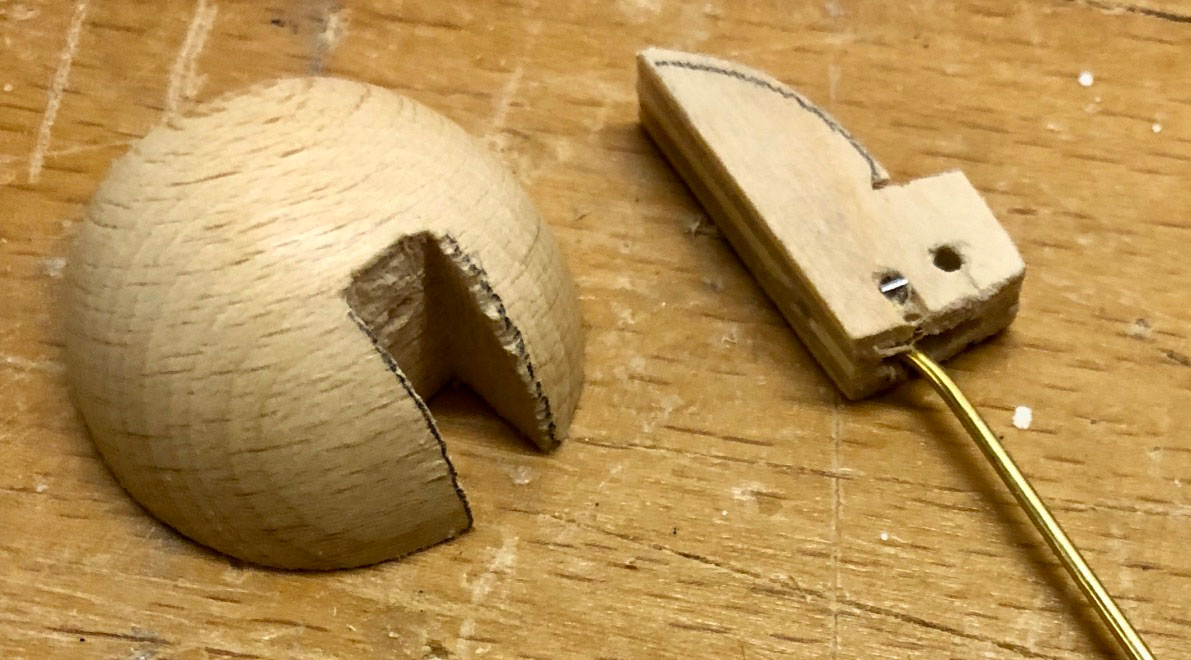
– keeping the cat’s mouth closed, via a slim brass rod
Press the base up and the tail will slacken and/or the cat’s mouth will open. The operator is responsible for the miaow.
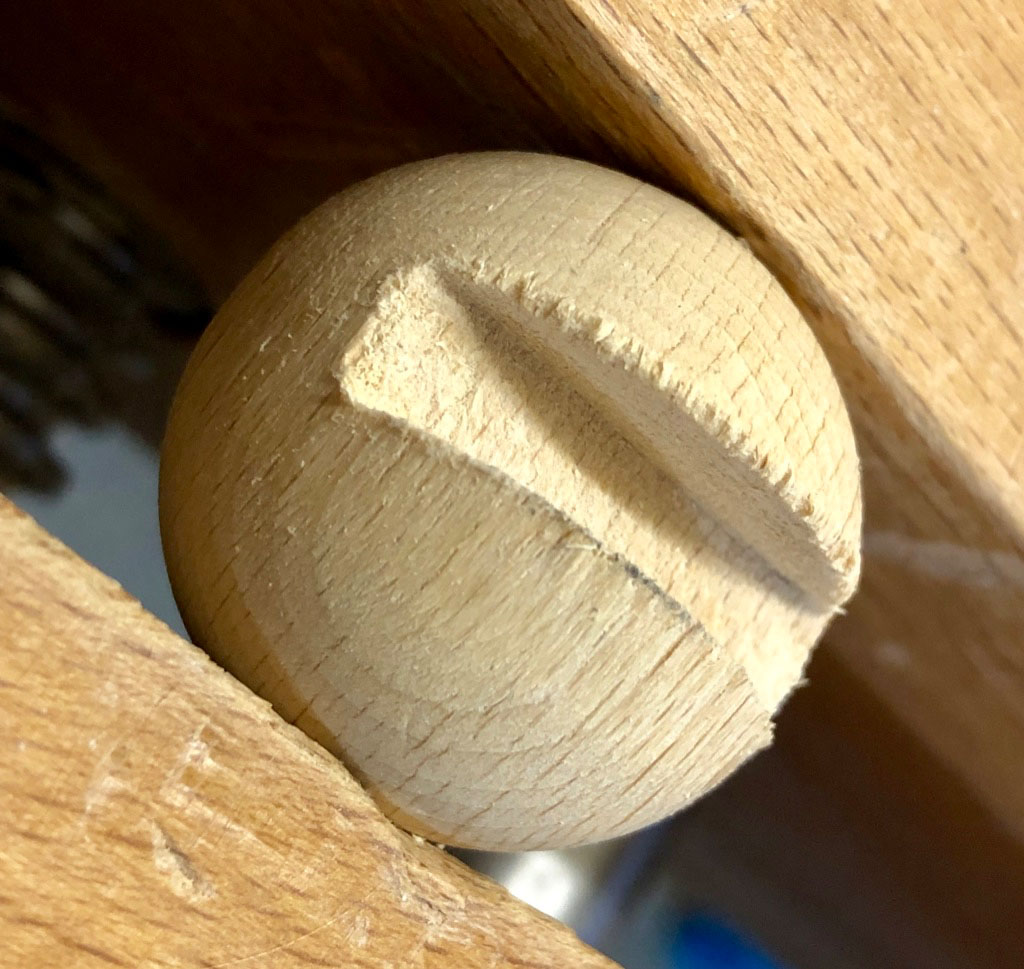
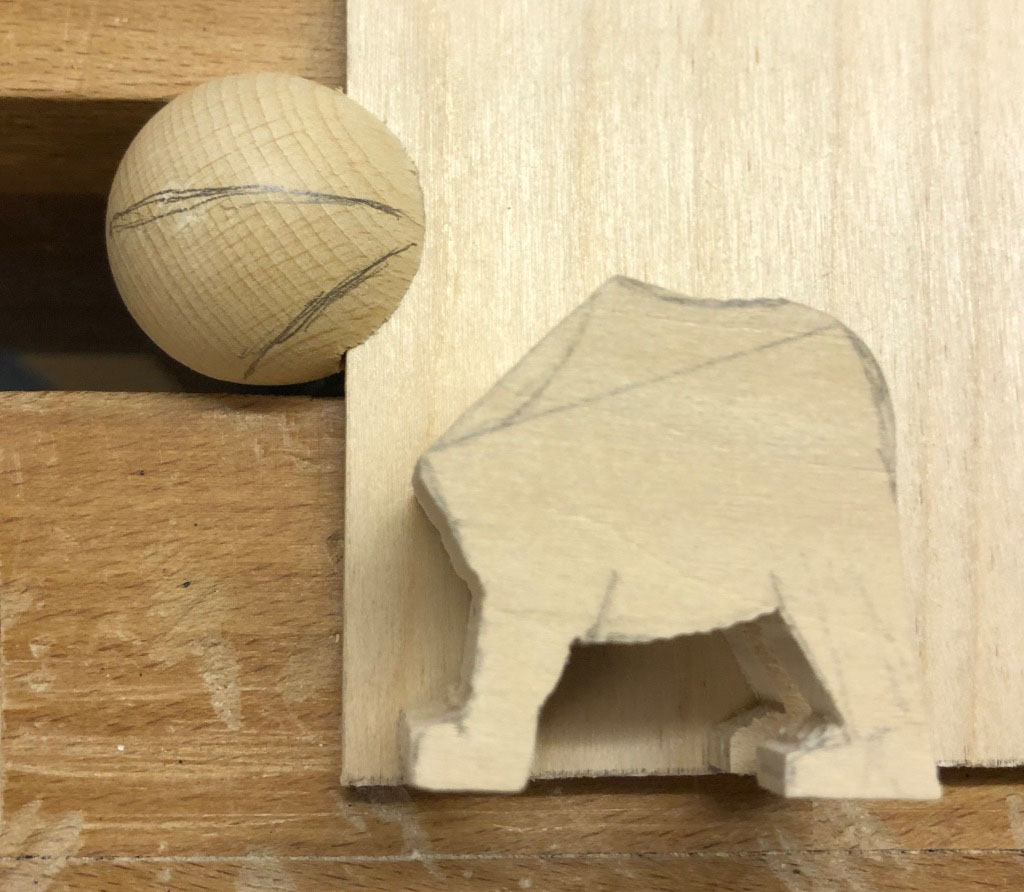
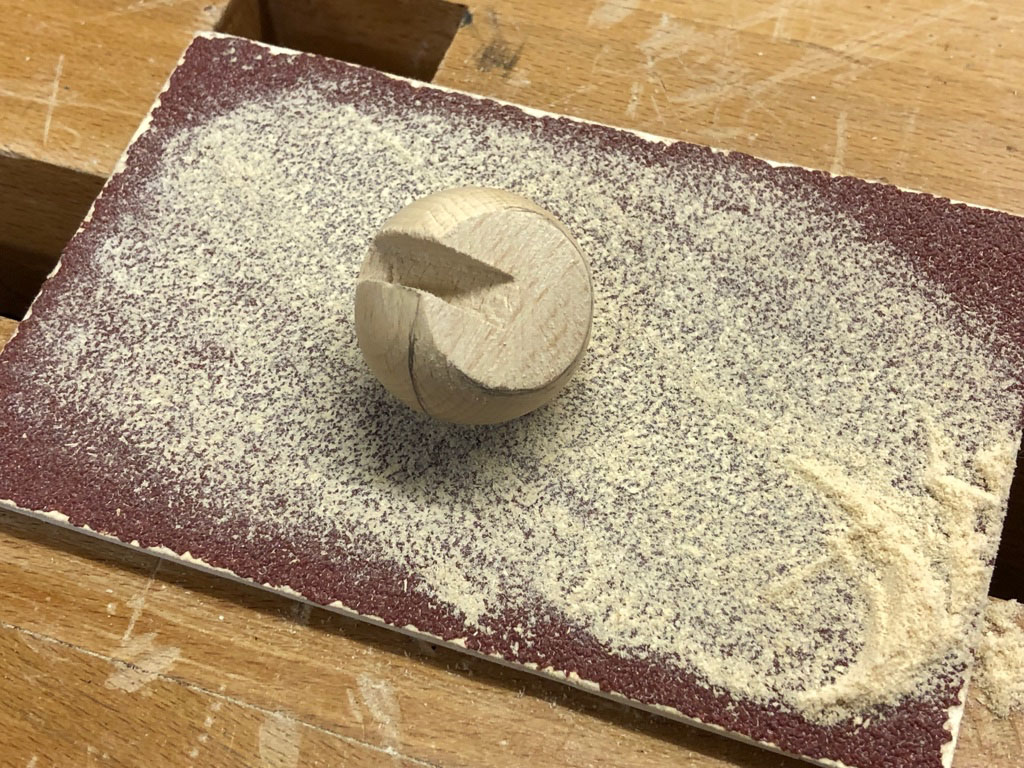
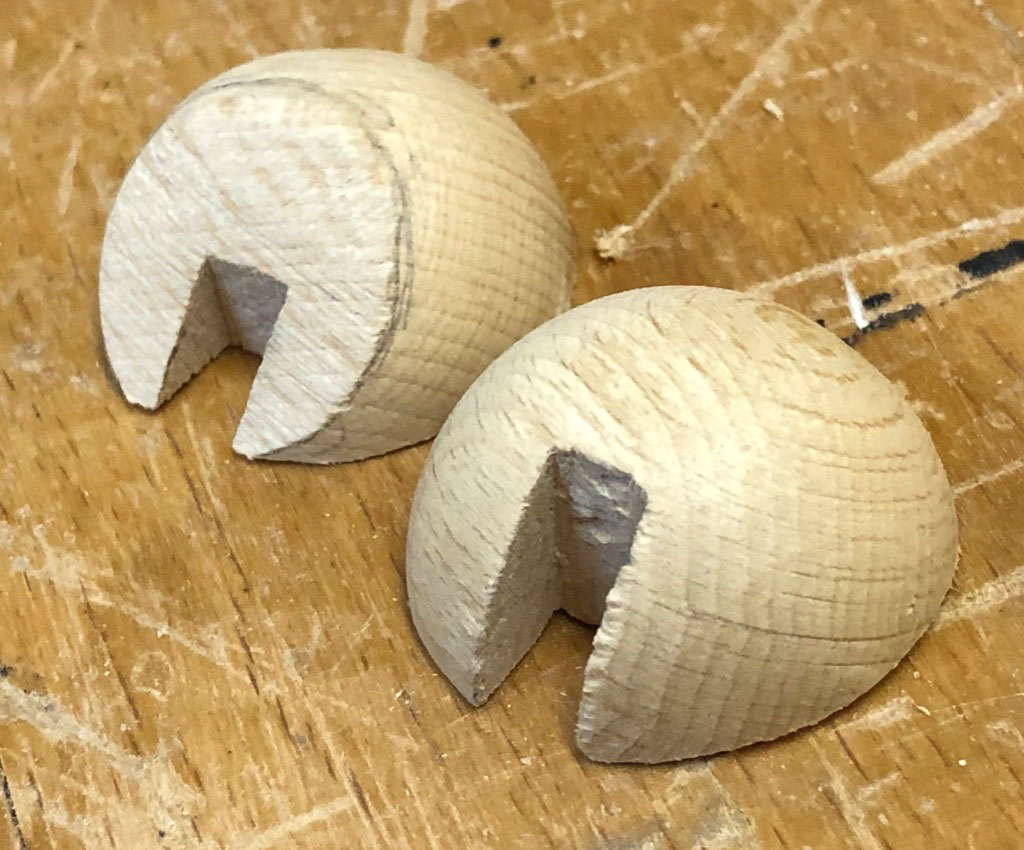
I went for a spherical head and huge hemispherical eyes and a small nose made from beechwood. The body, tail and ears are made from carved lime wood as I won’t be charging anyone for my time to do that little bit of carving.
I reused an existing wooden base which had originally been turned.
Once the rough design was ready, this fairly simple toy only took a few hours over a weekend to make, with a bit of fiddling about for the final assembly.
Making the bits
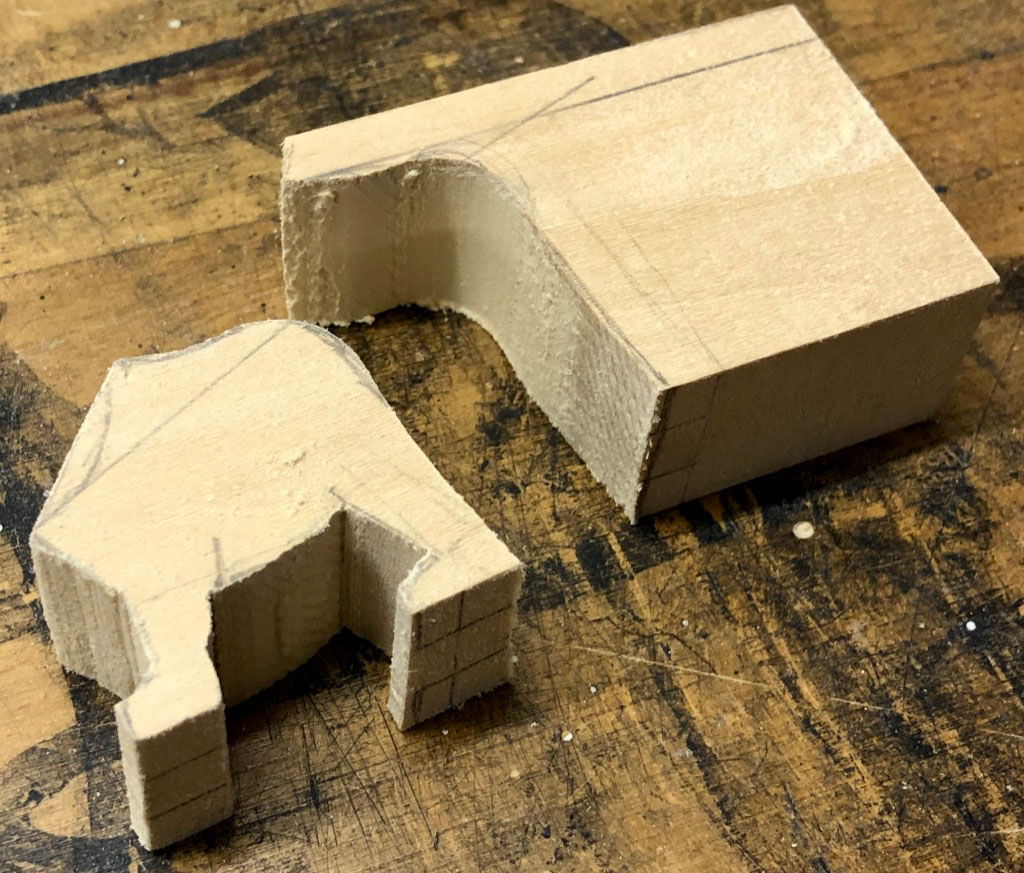
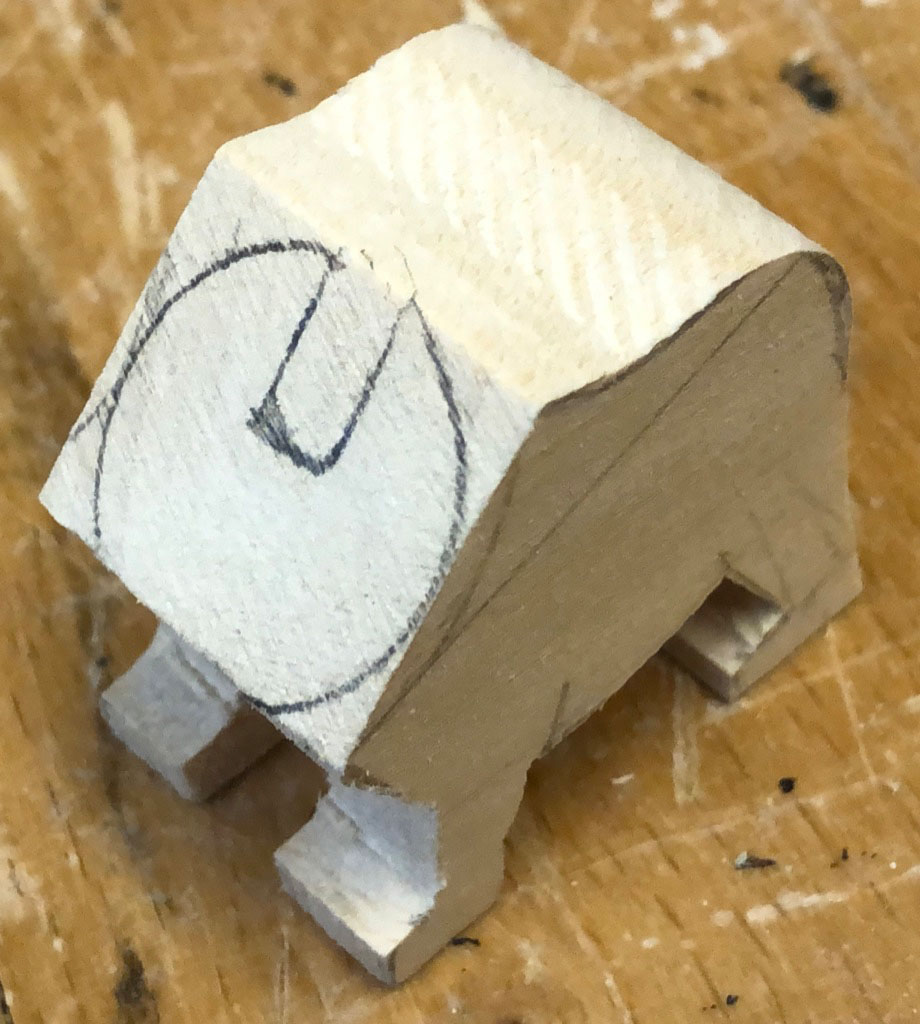
Putting it all together was tricky and required quite a bit of patience as I could only bend the top loop on the push rod once it had been fed through the body. With hindsight, I should have cut slots which were long enough to let the loop through. That would not have detracted from the general impression. That’s life innit? When you only make one of anything, you never get it quite right.