We have had a lot of weather recently and here is a little more. At least with this version, you won’t get wet feet.
Inspiration
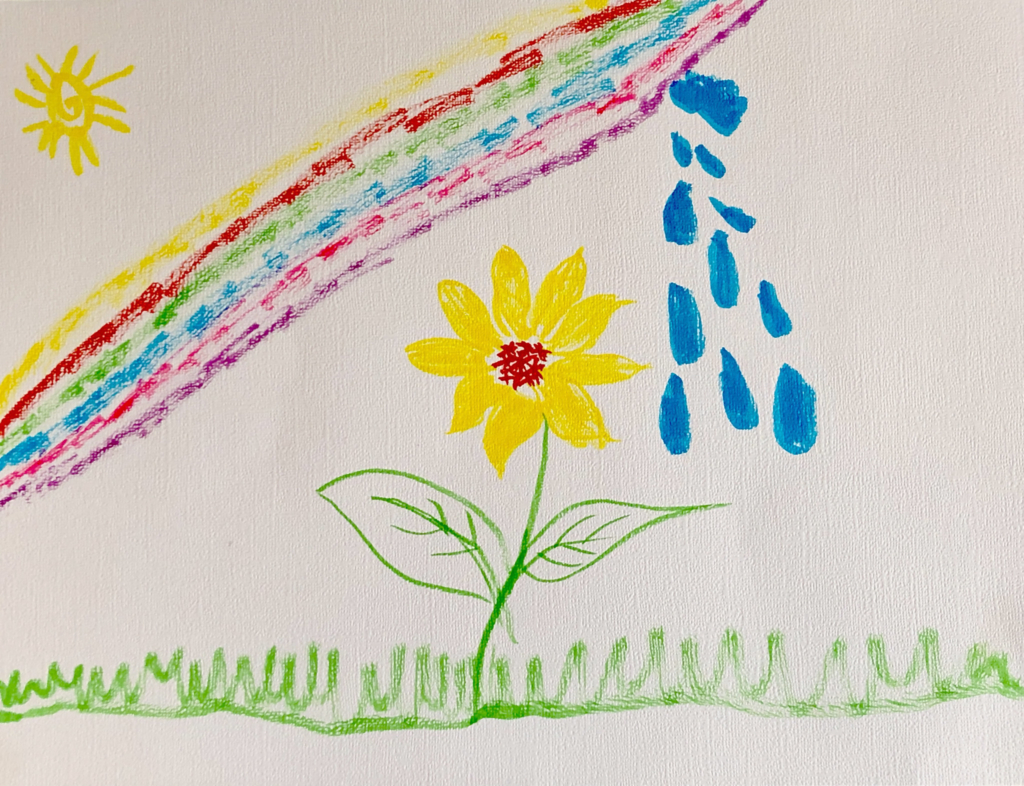
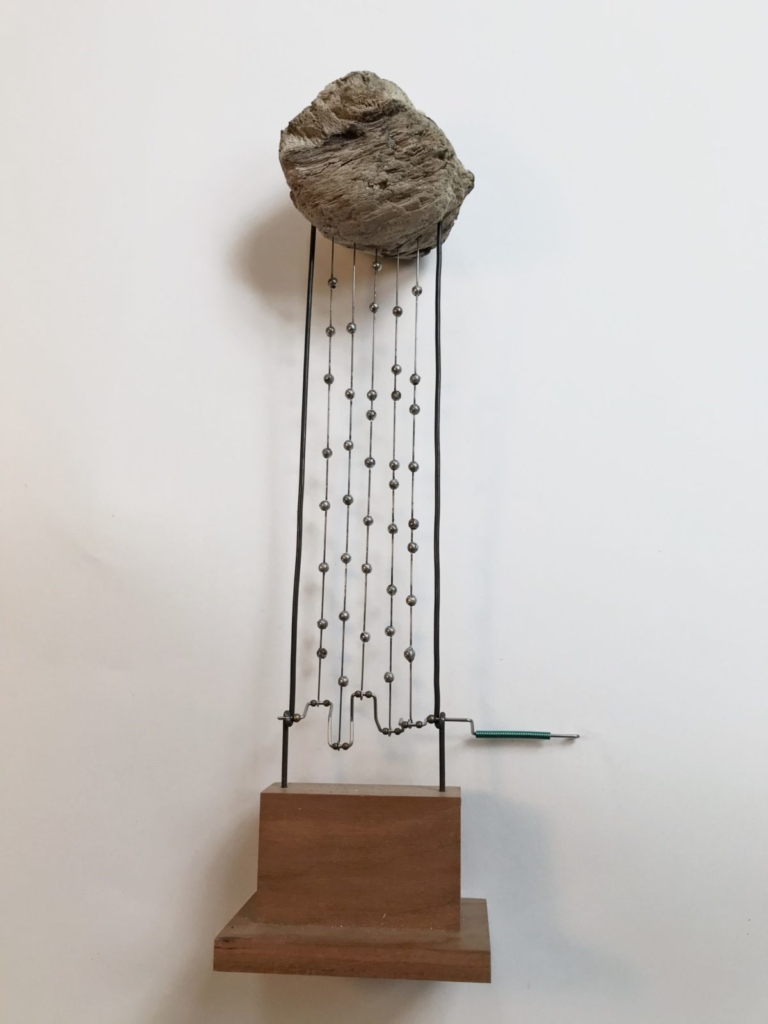
The other day, a young friend of mine gave me a present, a beautiful picture of a rainbow. This made me wonder whether anyone had tried to make a wooden weather automata. A quick search found one match (https://oldchapelgallery.co.uk/product/wooden-automata-rain-machine/) “Wooden Automata Rain Machine” made by Ian McKay.
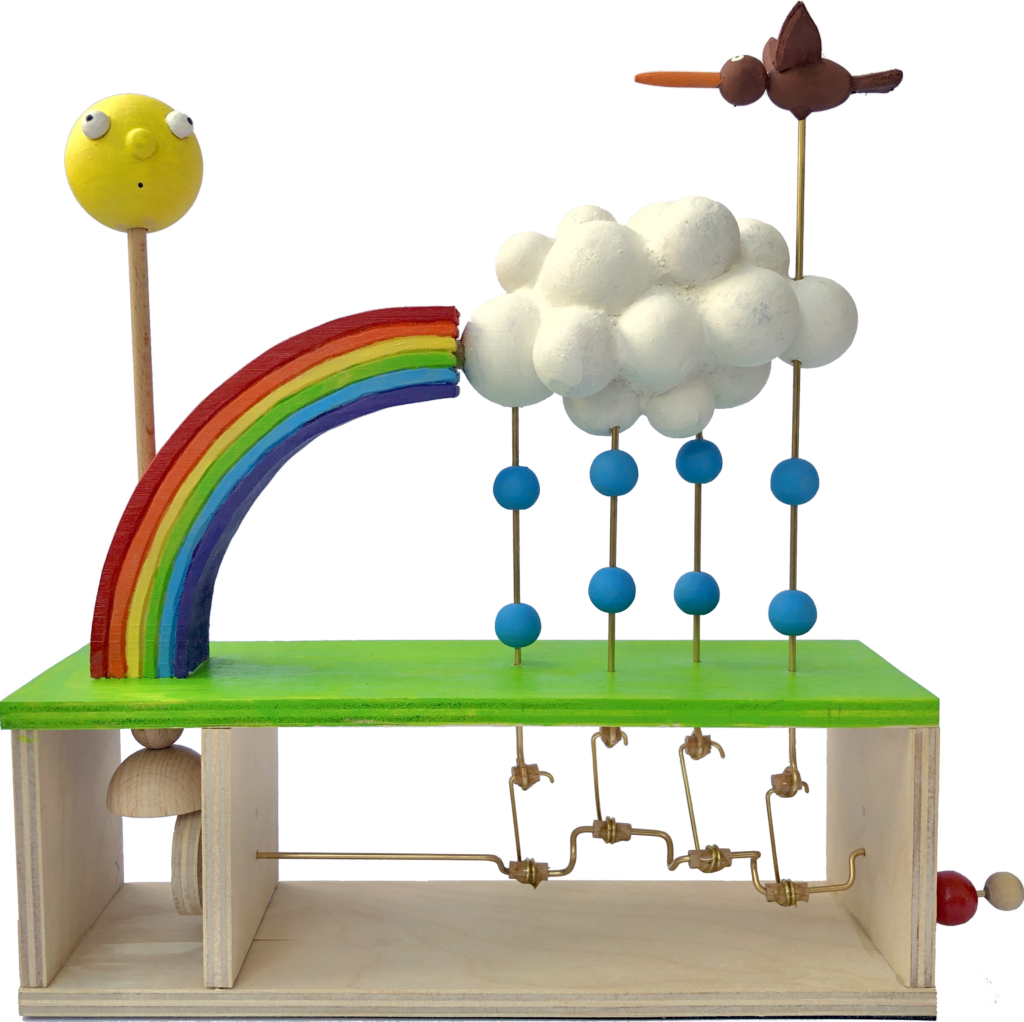
This suggested using a crankshaft to make the raindrops move up and down and I thought, “I’ll go for that” but, along the way, I decided to embellish the design with a rainbow, a sun, a cloud and ultimately a small bird.
Making
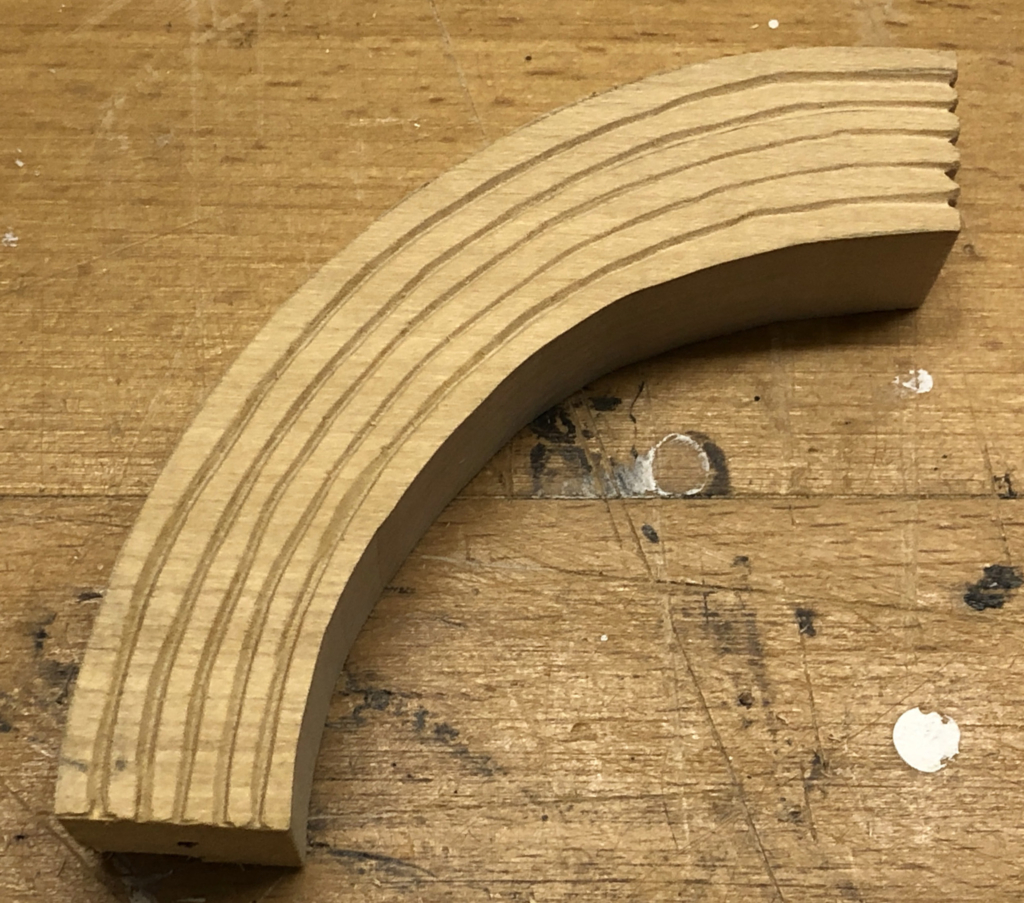
A rainbow is a simple geometric exercise and I chose to have 6 colours. As a boy I learned Richard Of York Gave Battle In Vain to name the sequence of seven colours in the rainbow, red, orange, yellow, green, indigo and violet. I have never understood the difference between indigo and violet, so I decided to drop indigo leaving just six colours.
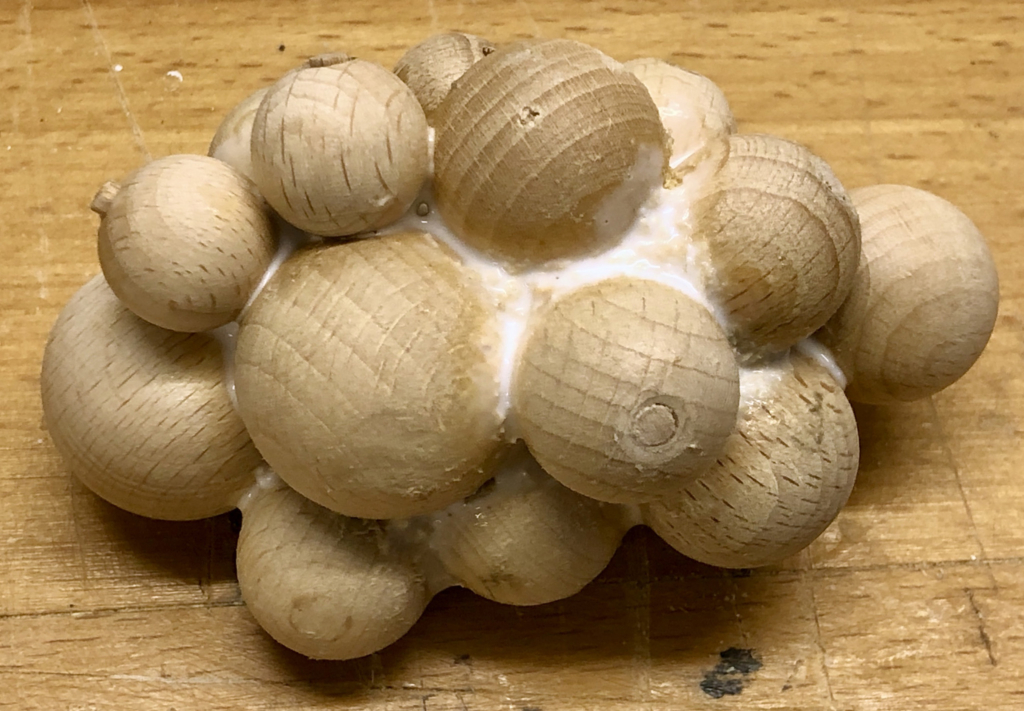
The cloud was fun. Cotton wool is often used to suggest clouds but I have a good collection of wooden balls.

So, with some sanding and gluing, I could make a cartoonish sort of cloud which was just right.
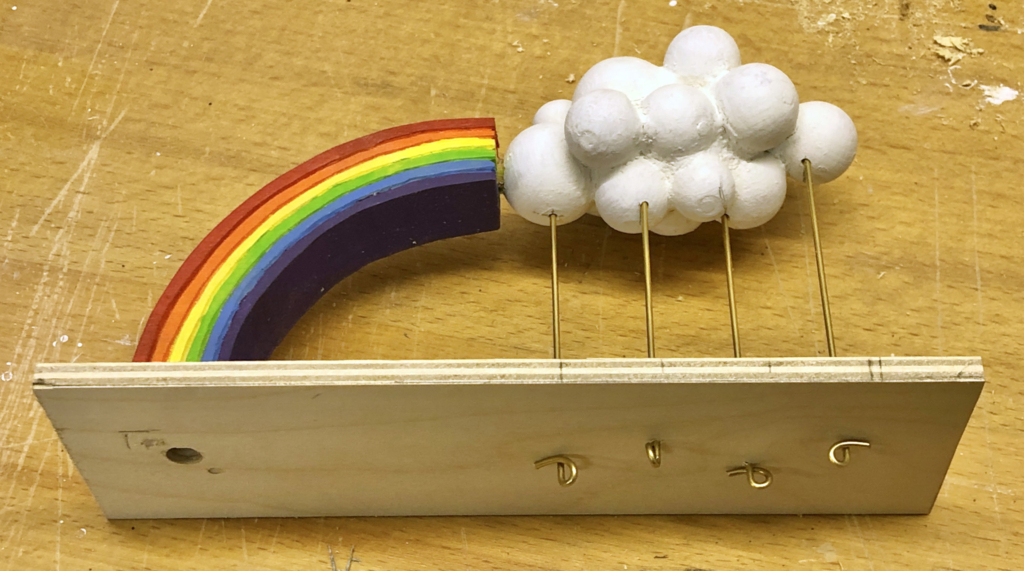
After a bit of painting, I used some 4 mm dowel to glue the cloud firmly to the rainbow. This meant that I could hold the cloud in a fixed attitude and could drill four parallel holes for the raindrops.
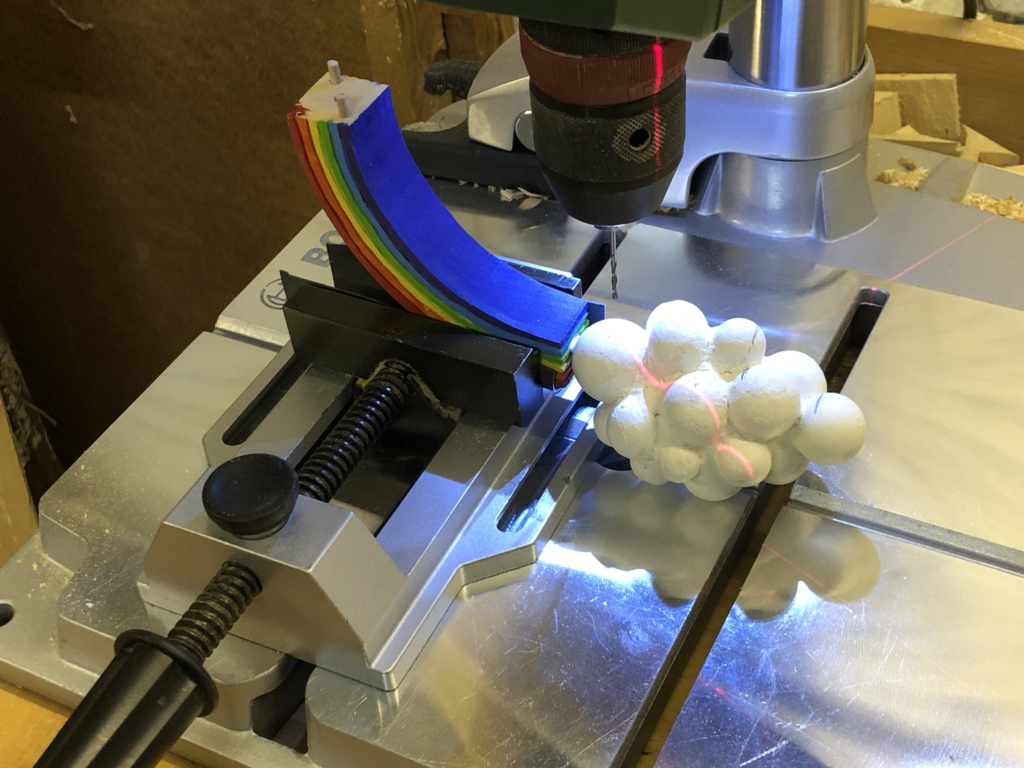
I then drilled matching holes in the base, as well as a hole up through the rainbow for the 4 mm dowel which holds the sun up in the sky.
For the movement, I used a piece of brass rod and bent it using pliers, sliding on some drilled 4 mm dowel pieces as bearings before adding the next bend. The four bearings are roughly at 0°, 90°, 180° and 270° so that each raindrop seems to move out of phase with the others.
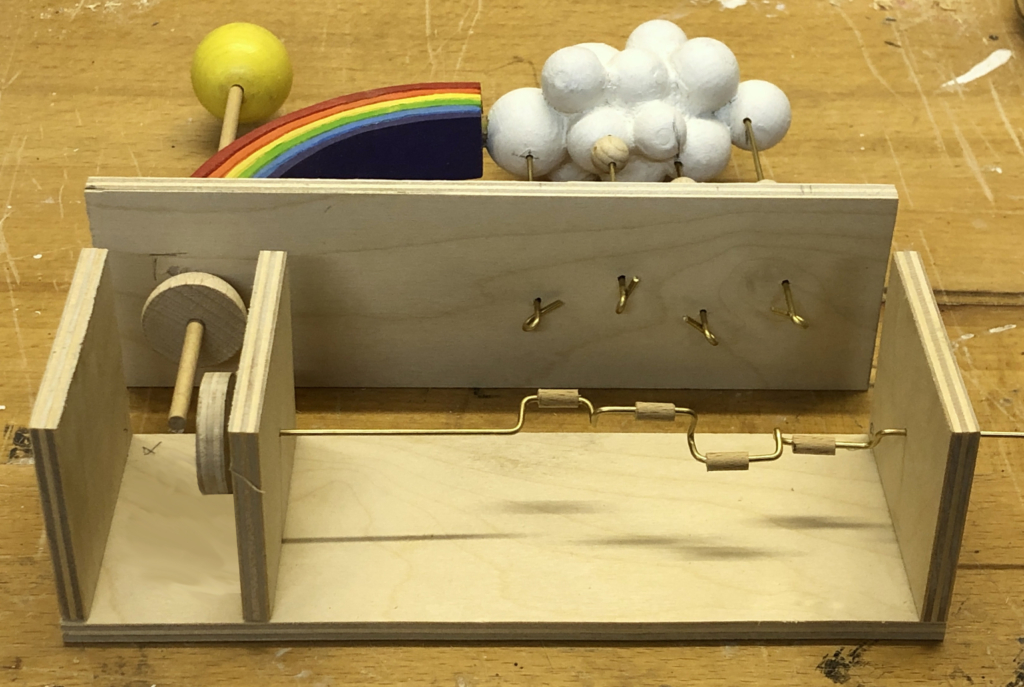
You can see that the crankshaft also turns a wheel at the left. This wheel will friction drive the hemisphere attached to the bottom of the dowel holding the sun.
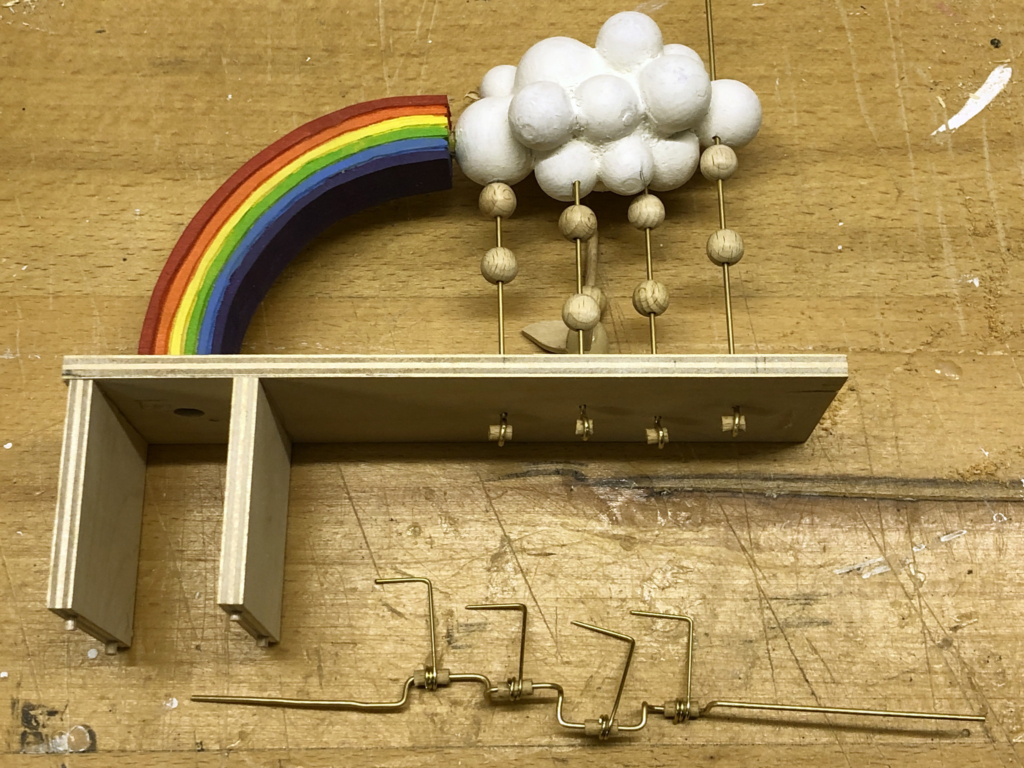
After adding bearings made of drilled pieces of dowel to the bottom of the raindrop rods, I attached linkage rods to the crankshaft before fitting it all together and fixing the ends into the bearings by adding a final bend.

To stop the bearings from slipping out of their respective brass loops, I then added a drop of two-component epoxy resin glue to the outside of each bearing.
Mistake 1 – Moving Holes
When I did my trial assembly I found that I had made the linkage rods too short and the mechanism jammed. Once I recognised the problem, I had to move the holes in the right hand side and in the internal partition down 10 mm. To move a hole, you fill the old hole with a suitably thin piece of dowel (first making the hole bigger if necessary) and then drill a new hole.
Mistake 2 – Cloud Too Thin
Once everything moved smoothly, I found that the rod for the right hand raindrops kept falling out of the cloud. When I made it longer, it then poked out of the top of the cloud on the up stroke. I thought about inflating that end of the cloud by the addition of a new ball, but then decided to add a small bird, calmly flying high up, towards the sun, thus keeping its feet nice and dry.
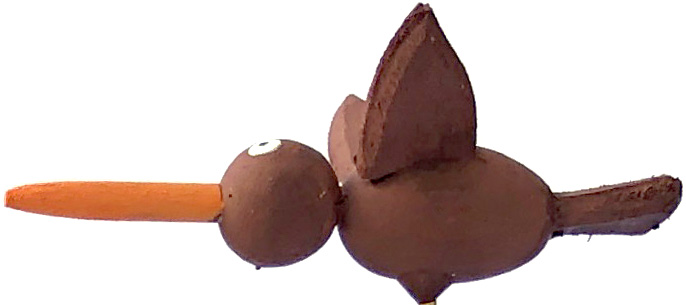
This was then a case of serendipity and not a mistake at all! Isn’t it fun just making things up as you go along!
The Video
URL https://www.youtube.com/watch?v=eH0Ha5dDb-g