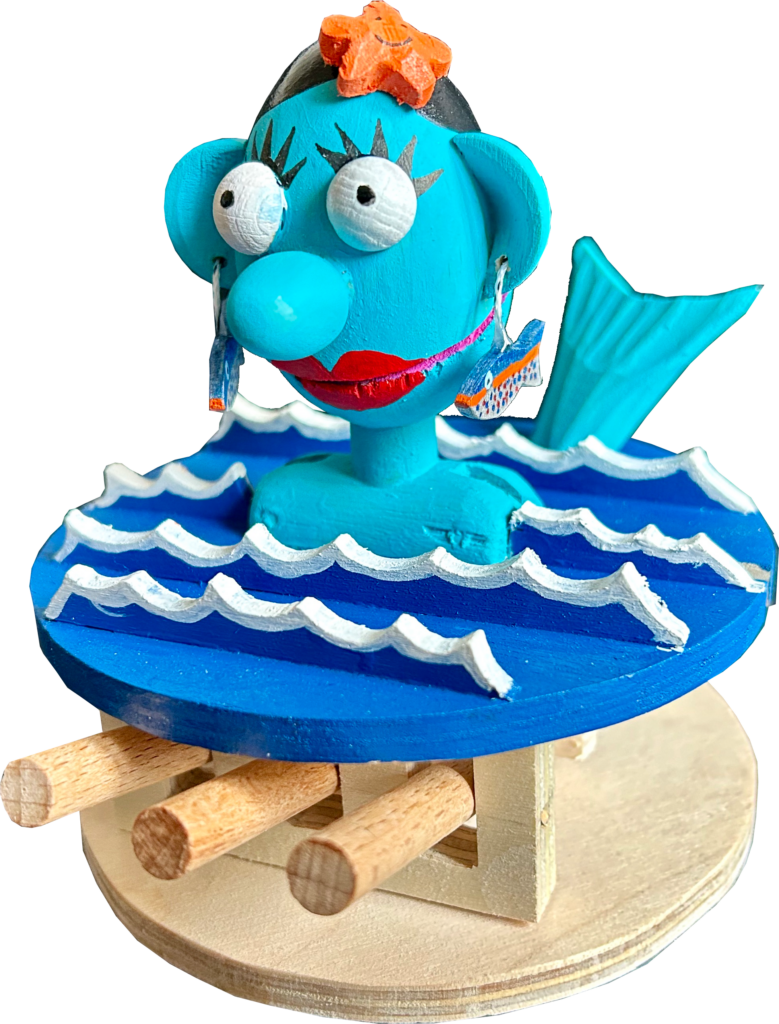
My idea for this small seductress started life as someone chatting away on a mobile phone until she eventually metamorphosed into a musical mermaid. Along the way she lost her body, gained a tail and took on an unhealthy pallor. My first idea remains – of having the largest mouth possible, simply operated by a lever. Two additional levers permit her to wave enticingly as she sings her siren song to lure unwary sailors into sea wreck and ruin. Although we can’t see what she is wearing beneath the waves, a stylish starfish keeps her hair in check and some fishy earrings show her status as queen of the surf.
For a change, there is no handle to crank to make a fixed sequence of events happen. Instead there are three levers and it is entirely up to the user to decide what happens in which order. The challenge is to think of a suitable song, sing it yourself and, as you sing it, to manipulate the levers for best effect. I was encouraged by recently spotting Puppets in Prague talking about table-top puppets. While my figure is not as sophisticated as Mirek Trejtnar’s, real mermaids do not actually have any legs, so I felt it was legitimate to hide all of the complicated bits out of sight under the water. Not that it is complicated, it is quite simple really and it did not take too long at all to make. Maybe there are ideas here which you could use in your next project?
Making the Head
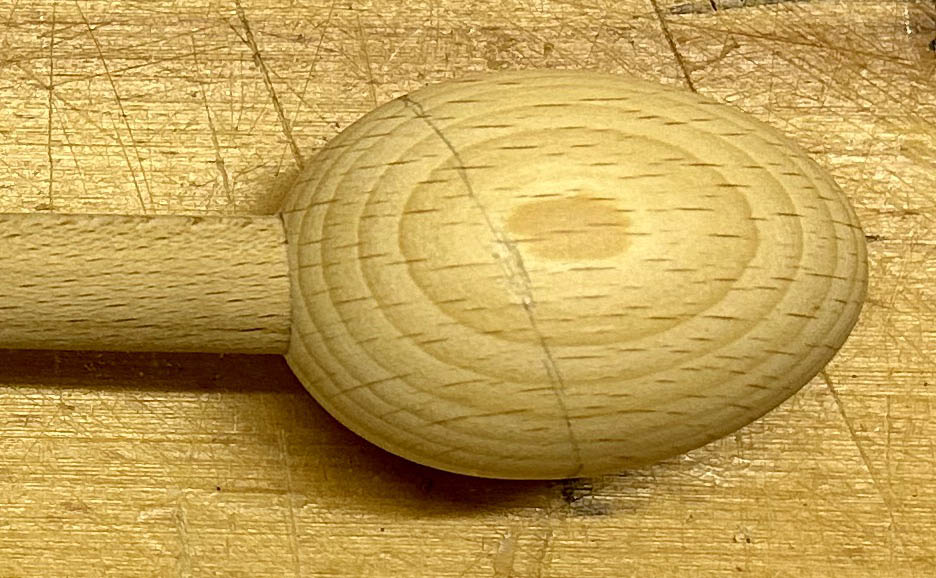
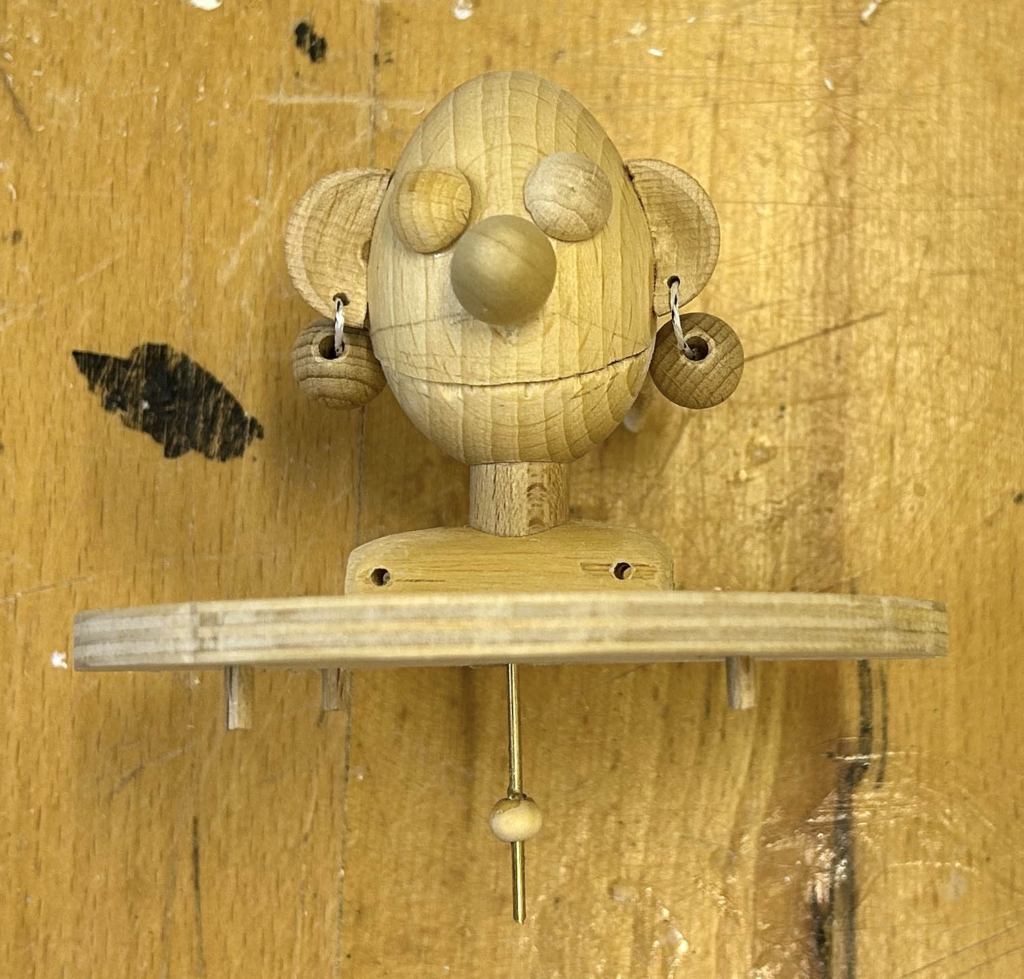
As wooden eggs are egg-shaped, it helps a lot if you first carefully drill a hole in the base and then glue a piece of dowel in it. As dowel has straight edges, the 10 mm diameter dowel shows the orientation of the 50 mm long egg much more clearly. The dowel is much easier than the egg to clamp firmly in a vice, thus holding everything steady while drilling and sawing.
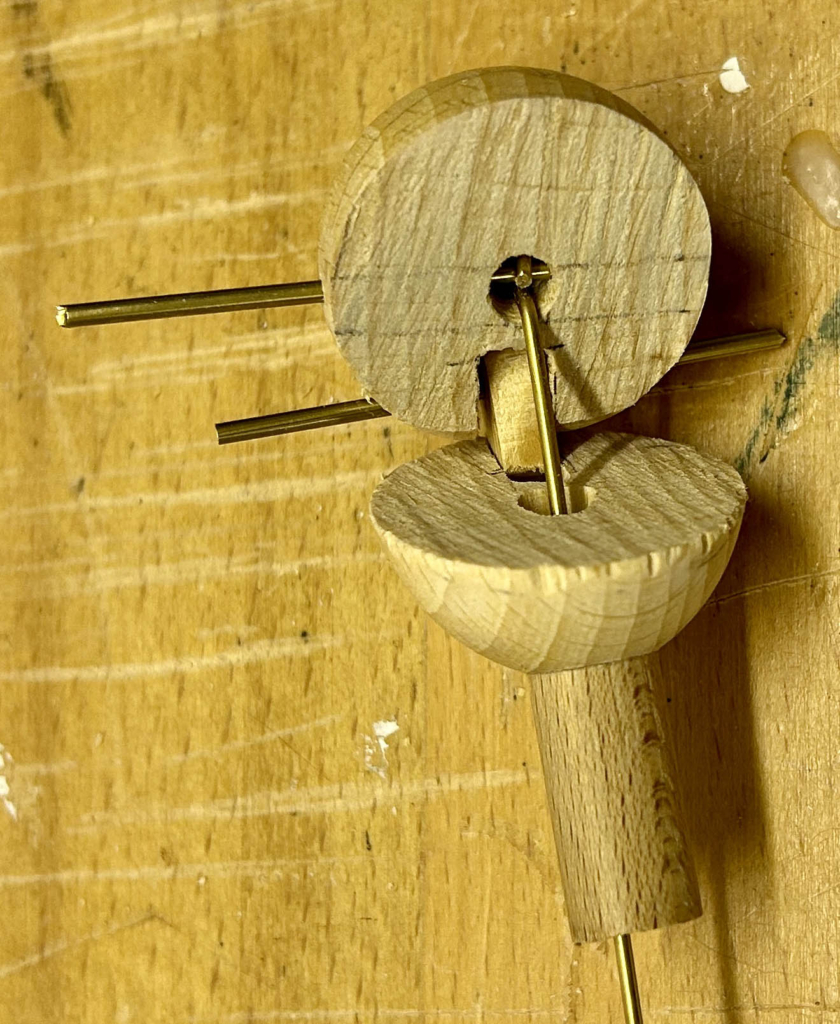
However, before cutting the egg diagonally to make a mouth, I drilled a 6 mm hole through the dowel and into the egg. This hole will then take the pusher rod which opens and closes the mouth. Also before cutting, I drilled two 2 mm holes horizontally through the egg. One to take the brass rod which hinges the two parts of the head together and the other to take a brass rod which hinges the pusher rod that come up through the dowel.
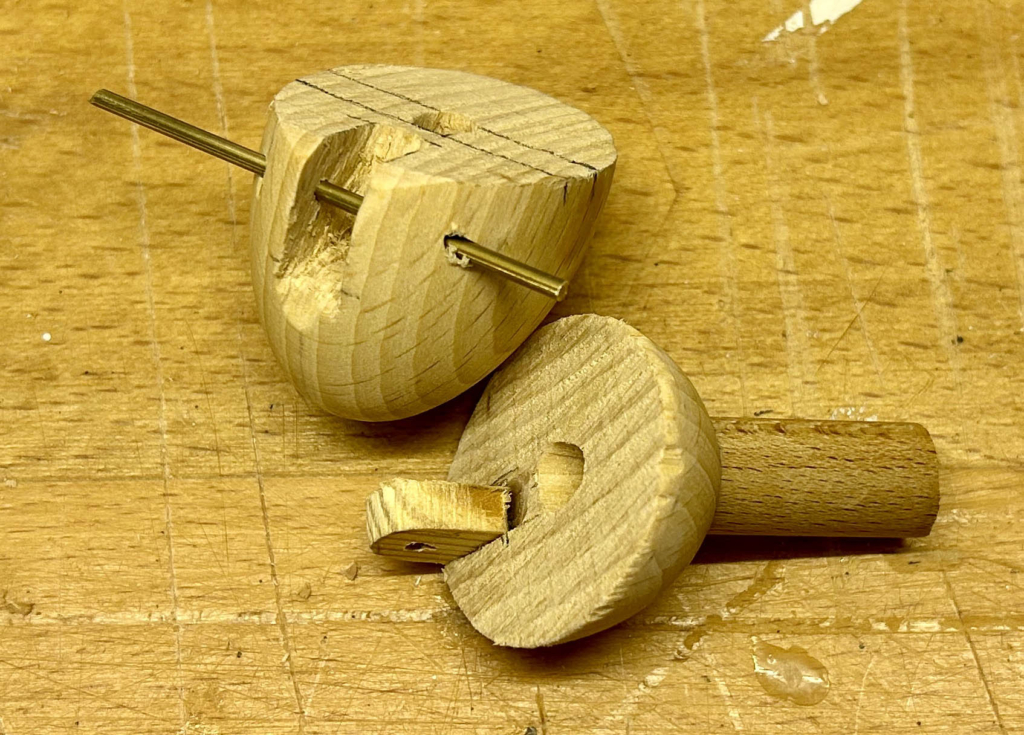
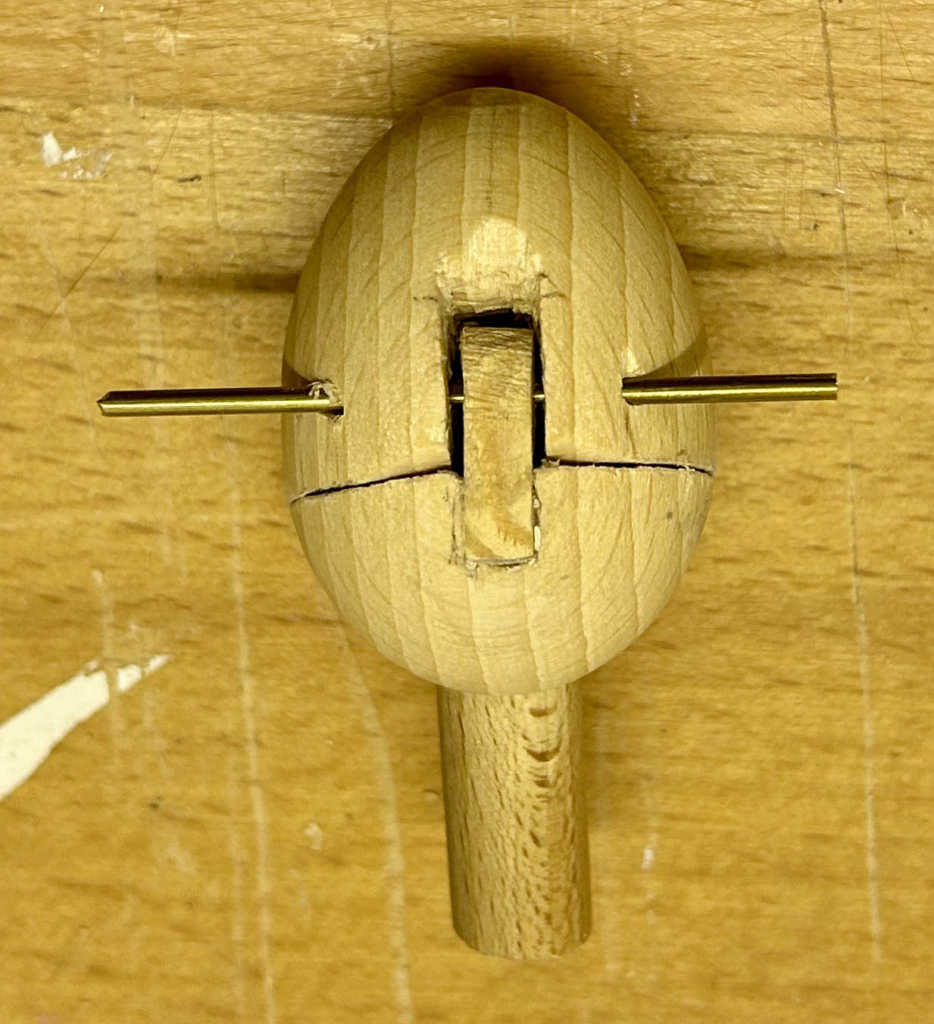
The jaw is held quite still by the neck dowel. Making the mouth the full width of the head and moving the upper head instead of the jaw means that the movement is accentuated and everything is more dramatic, larger than life.

The pusher rod is attached to the upper part of the head via a simple hinge. The horizontal rod passes through the loop in the end of the pusher rod, thus making a connection which can both push up and pull down. The pusher rod passes through a generous hole in the dowel so that, as the head rises and tilts back, taking the loop with it, there is enough play to prevent the pusher rod from jamming.
Making the Base
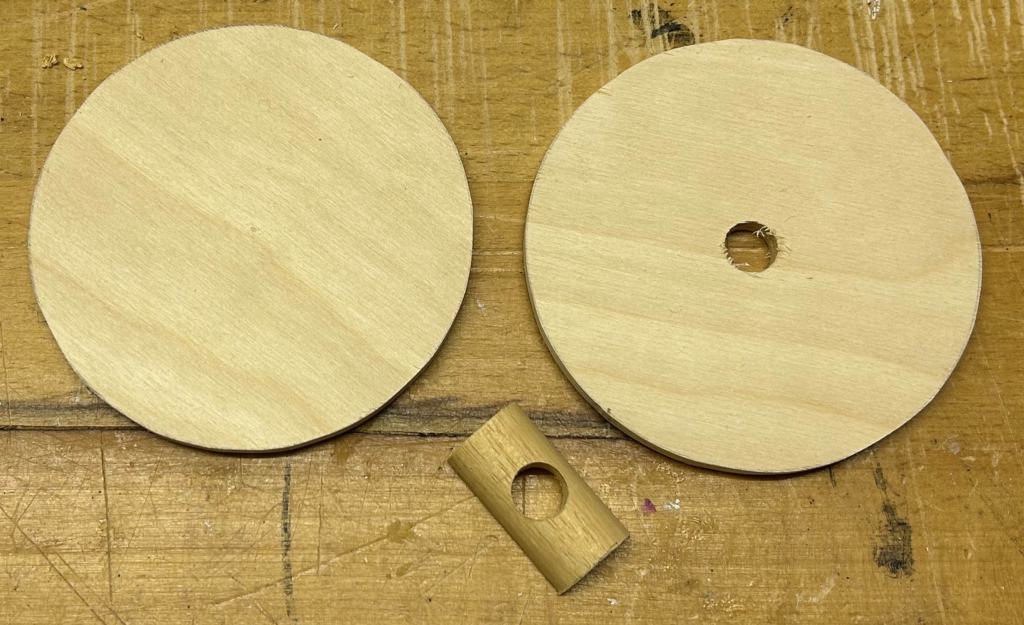
A 10 cm diameter base seemed about right and a chunky piece of dowel serves well as shoulders with a 10 mm hole for the neck.
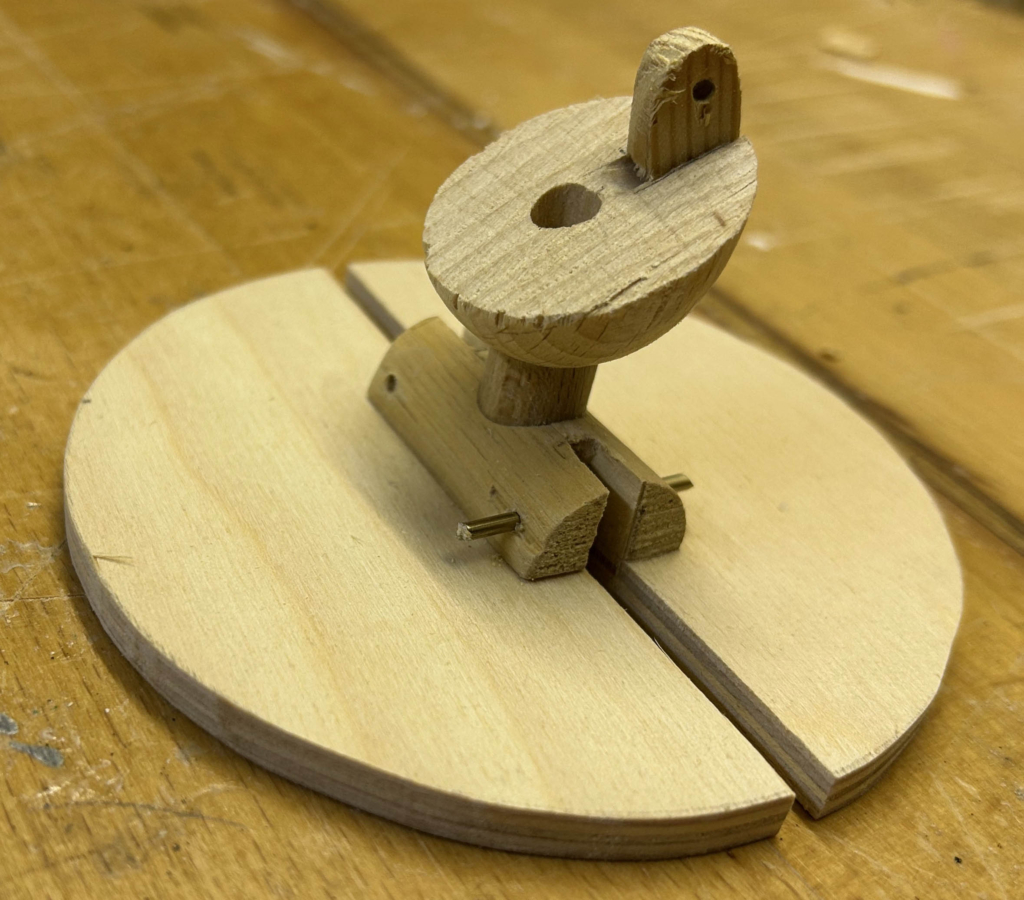
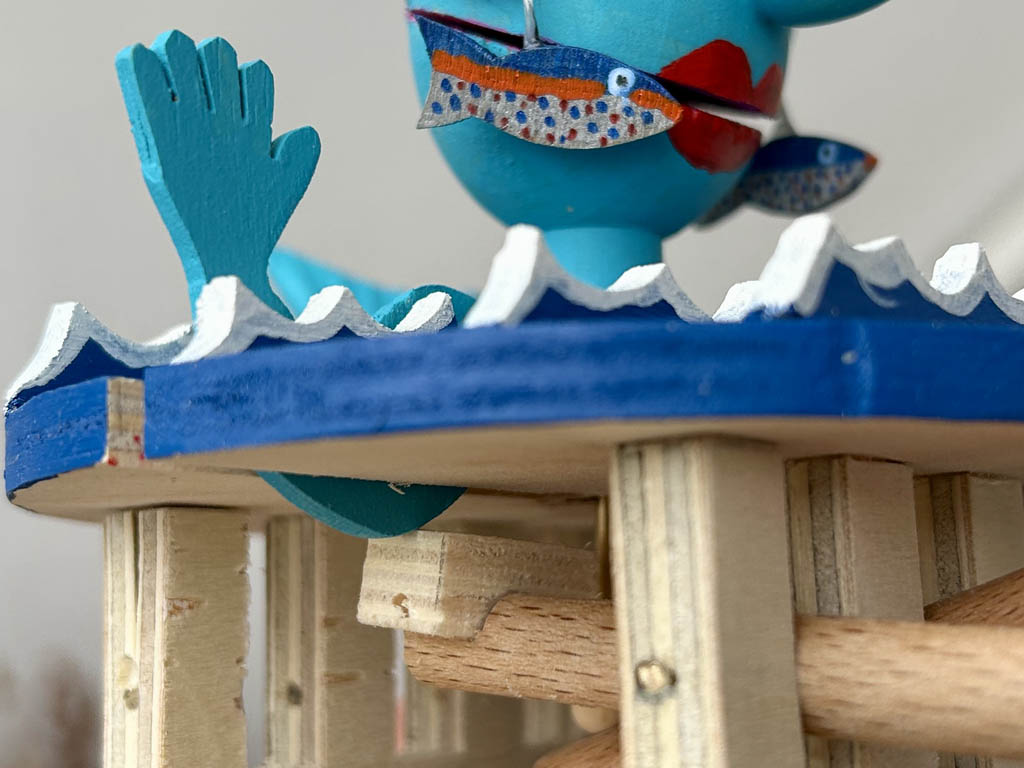
To allow the nymph’s arms to rise up out of the water, 4 mm slots provide plenty of space for the arms made of 2 mm plywood. The ugly slots are largely hidden by gluing waves right in front of them.

The arms hinge on 2 mm brass rods and, once assembled, they need a bit of fine tuning to make sure that the levers apply force in the right direction i.e. upwards but also slightly outwards.
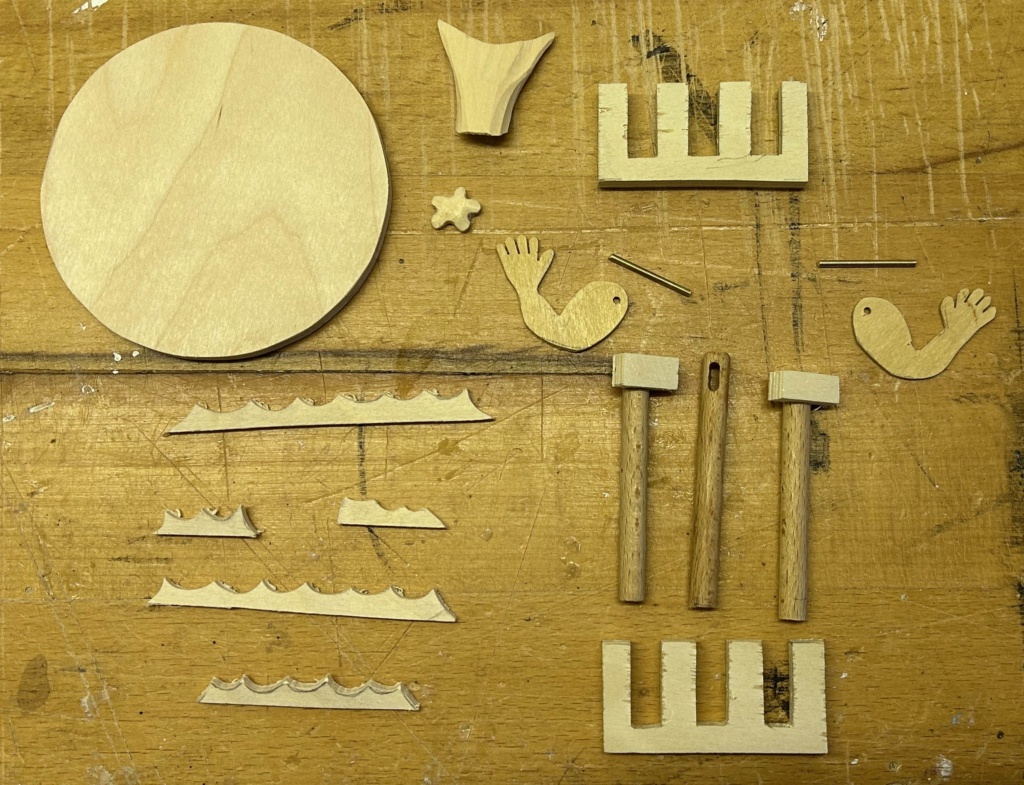
In the miscellaneous parts photo you can see three levers: one to push the right arm up, one with a slot to open the mouth and one to push the left arm up.
A small wooden sphere glued to the rod allows the slotted lever to push up and open the mouth.
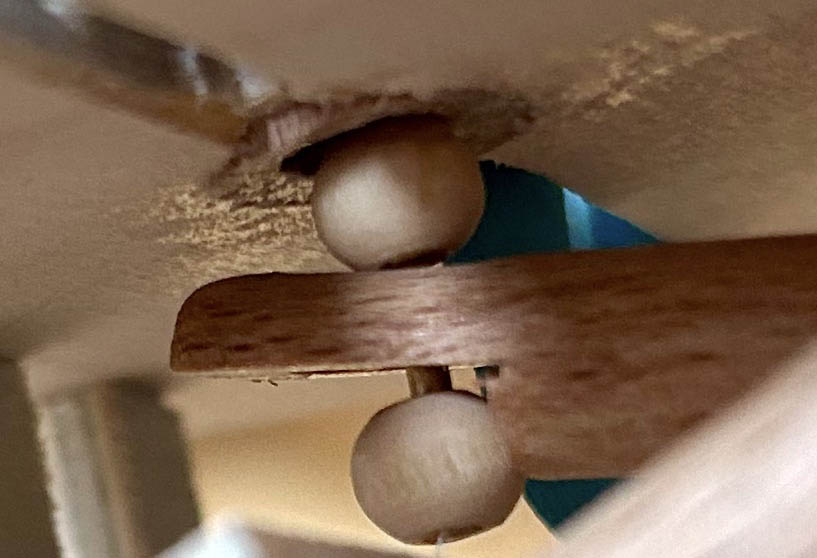
Once fully assembled, a second small wooden ball prevents the rod from slipping out of the slot.
The levers to raise the arms are a bit simpler, they just push on the elbow and rely on gravity to pull the arm down.
Reflections
Our mermaid started off with pearl earrings. At first, that seemed quite maritime chique, but wasn’t very interesting once I had painted things. Replacing pearls with fish made her much more mermaidy, even permitting some colour coordination with the starfish.
While generally enthusiastic, my first eight year-old tester complained that the mermaid’s hair was too short. Mermaids are usually shown with long, flowing locks. I’m afraid that my mermaid has opted for a more sensible, modern, easy-care cut.
Video
Images
Download available under https://www.wordwise.de/MermaidArchive.zip