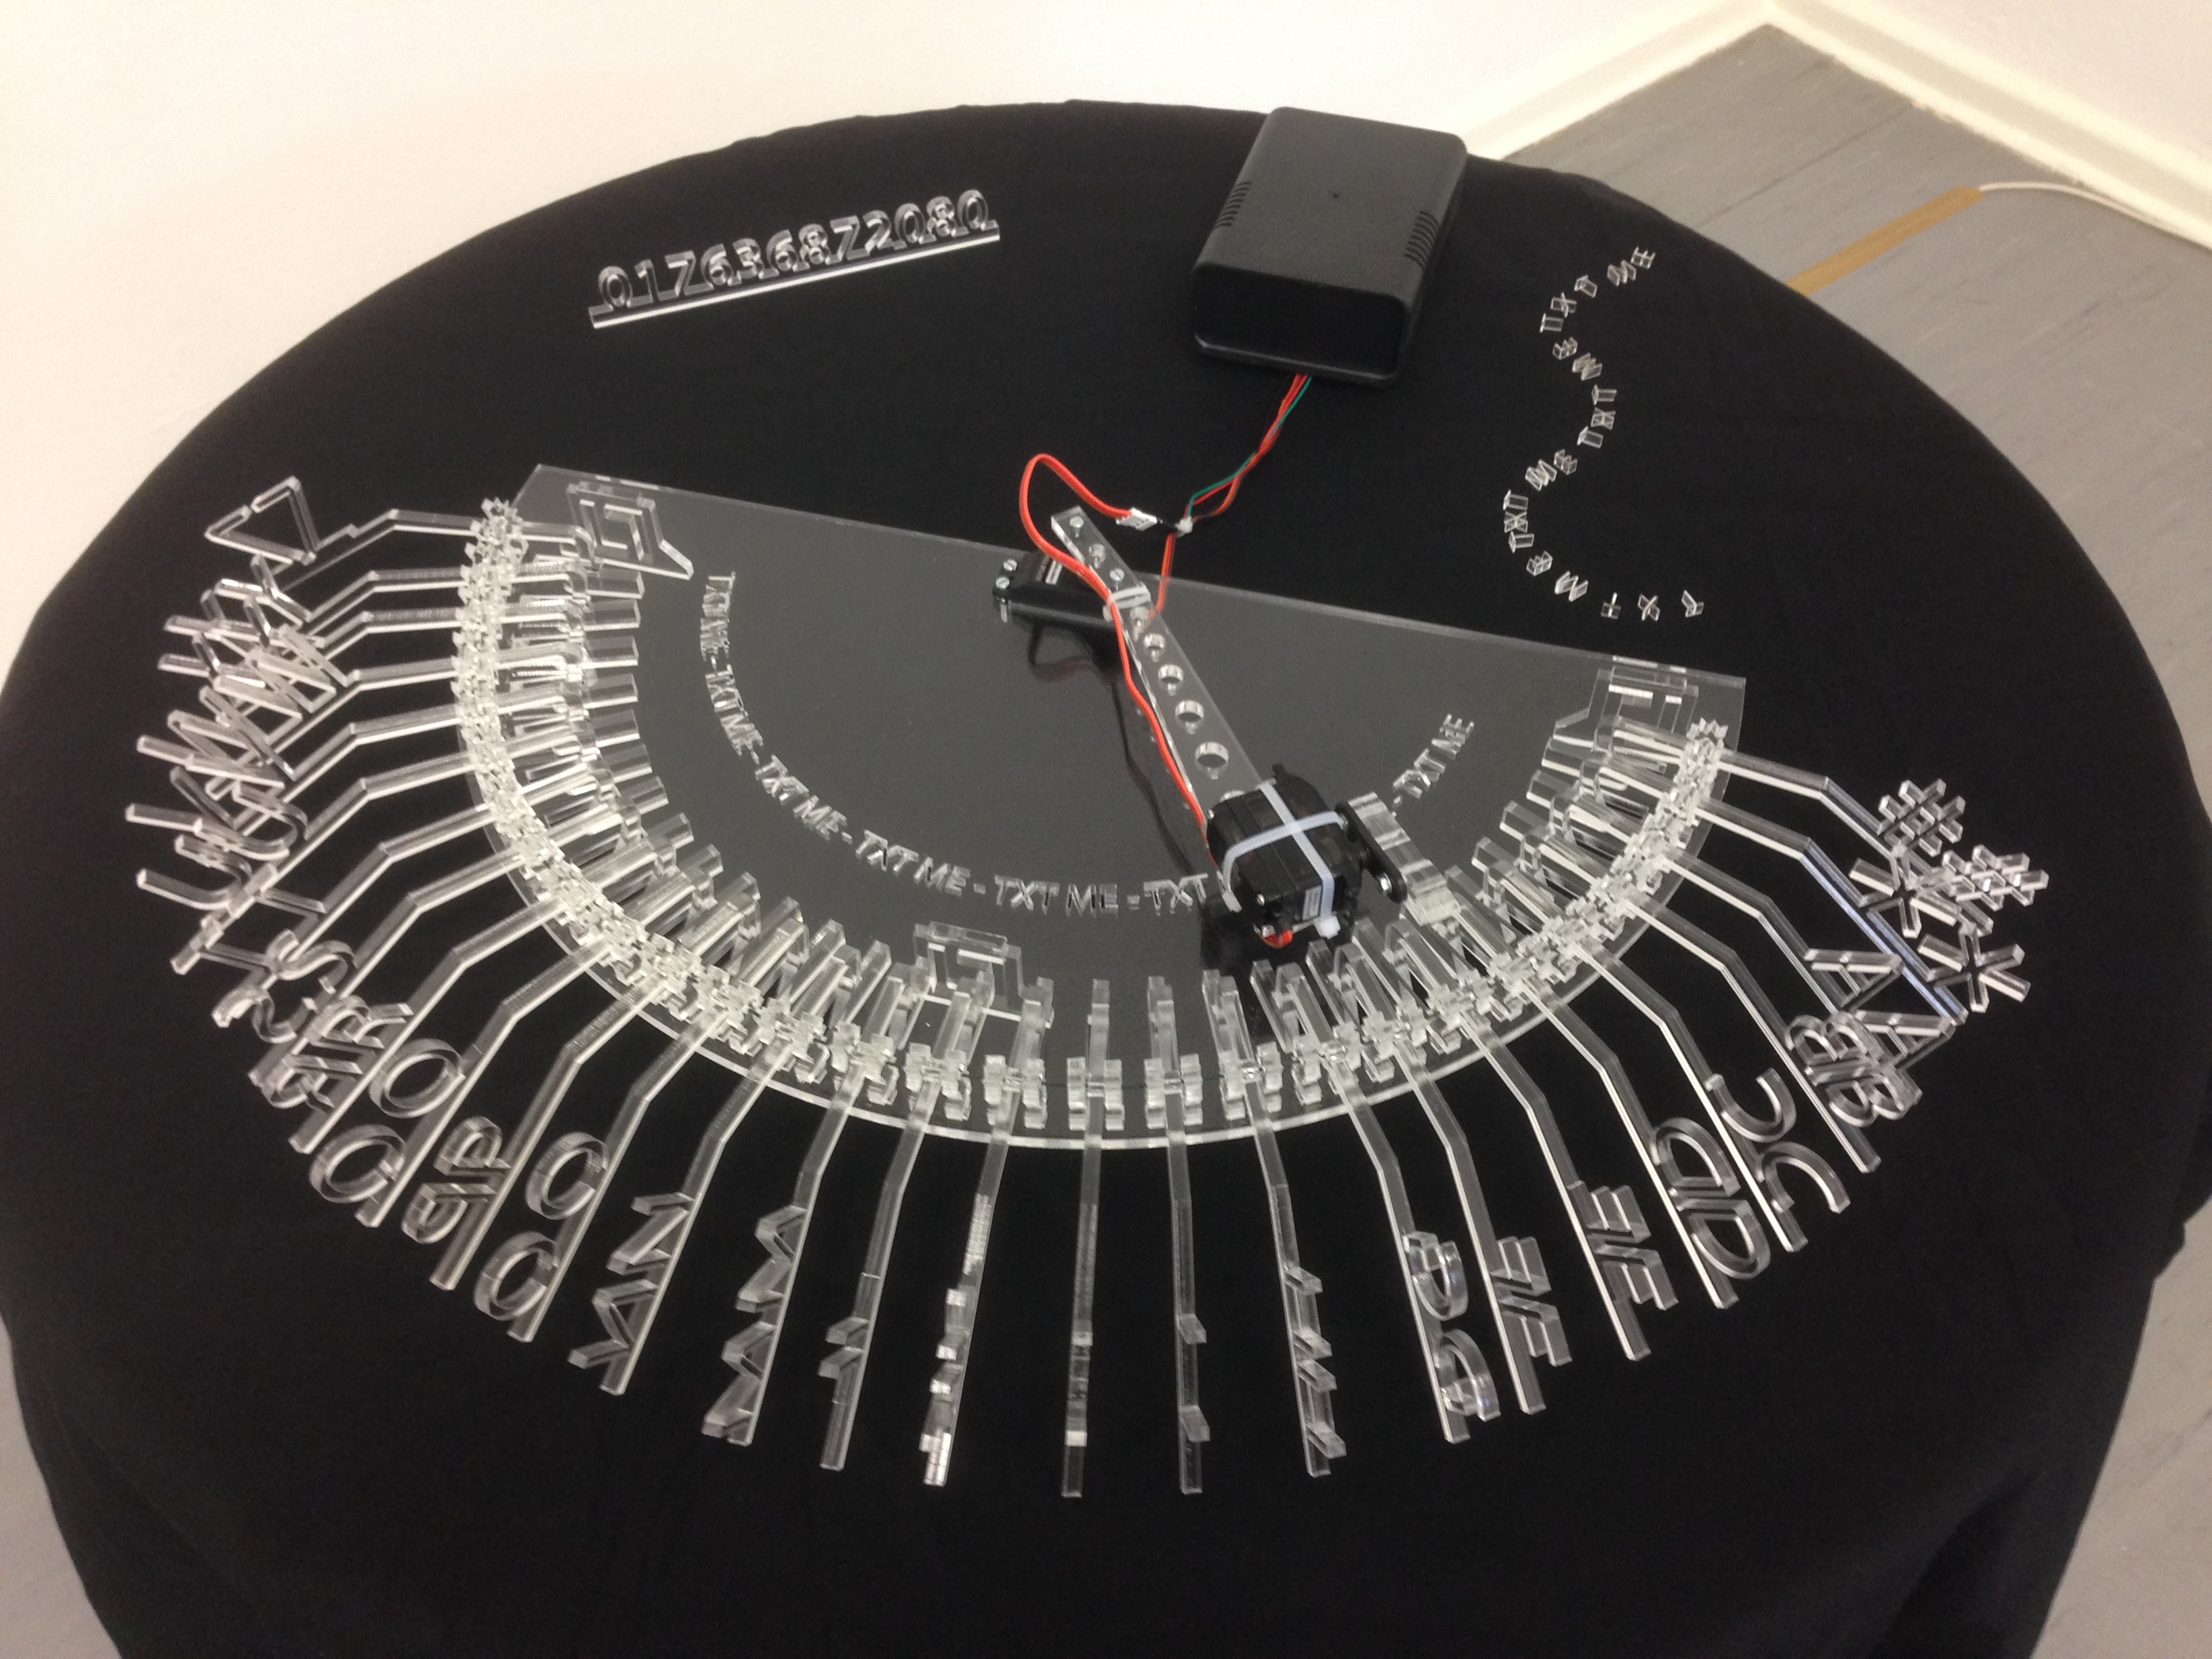
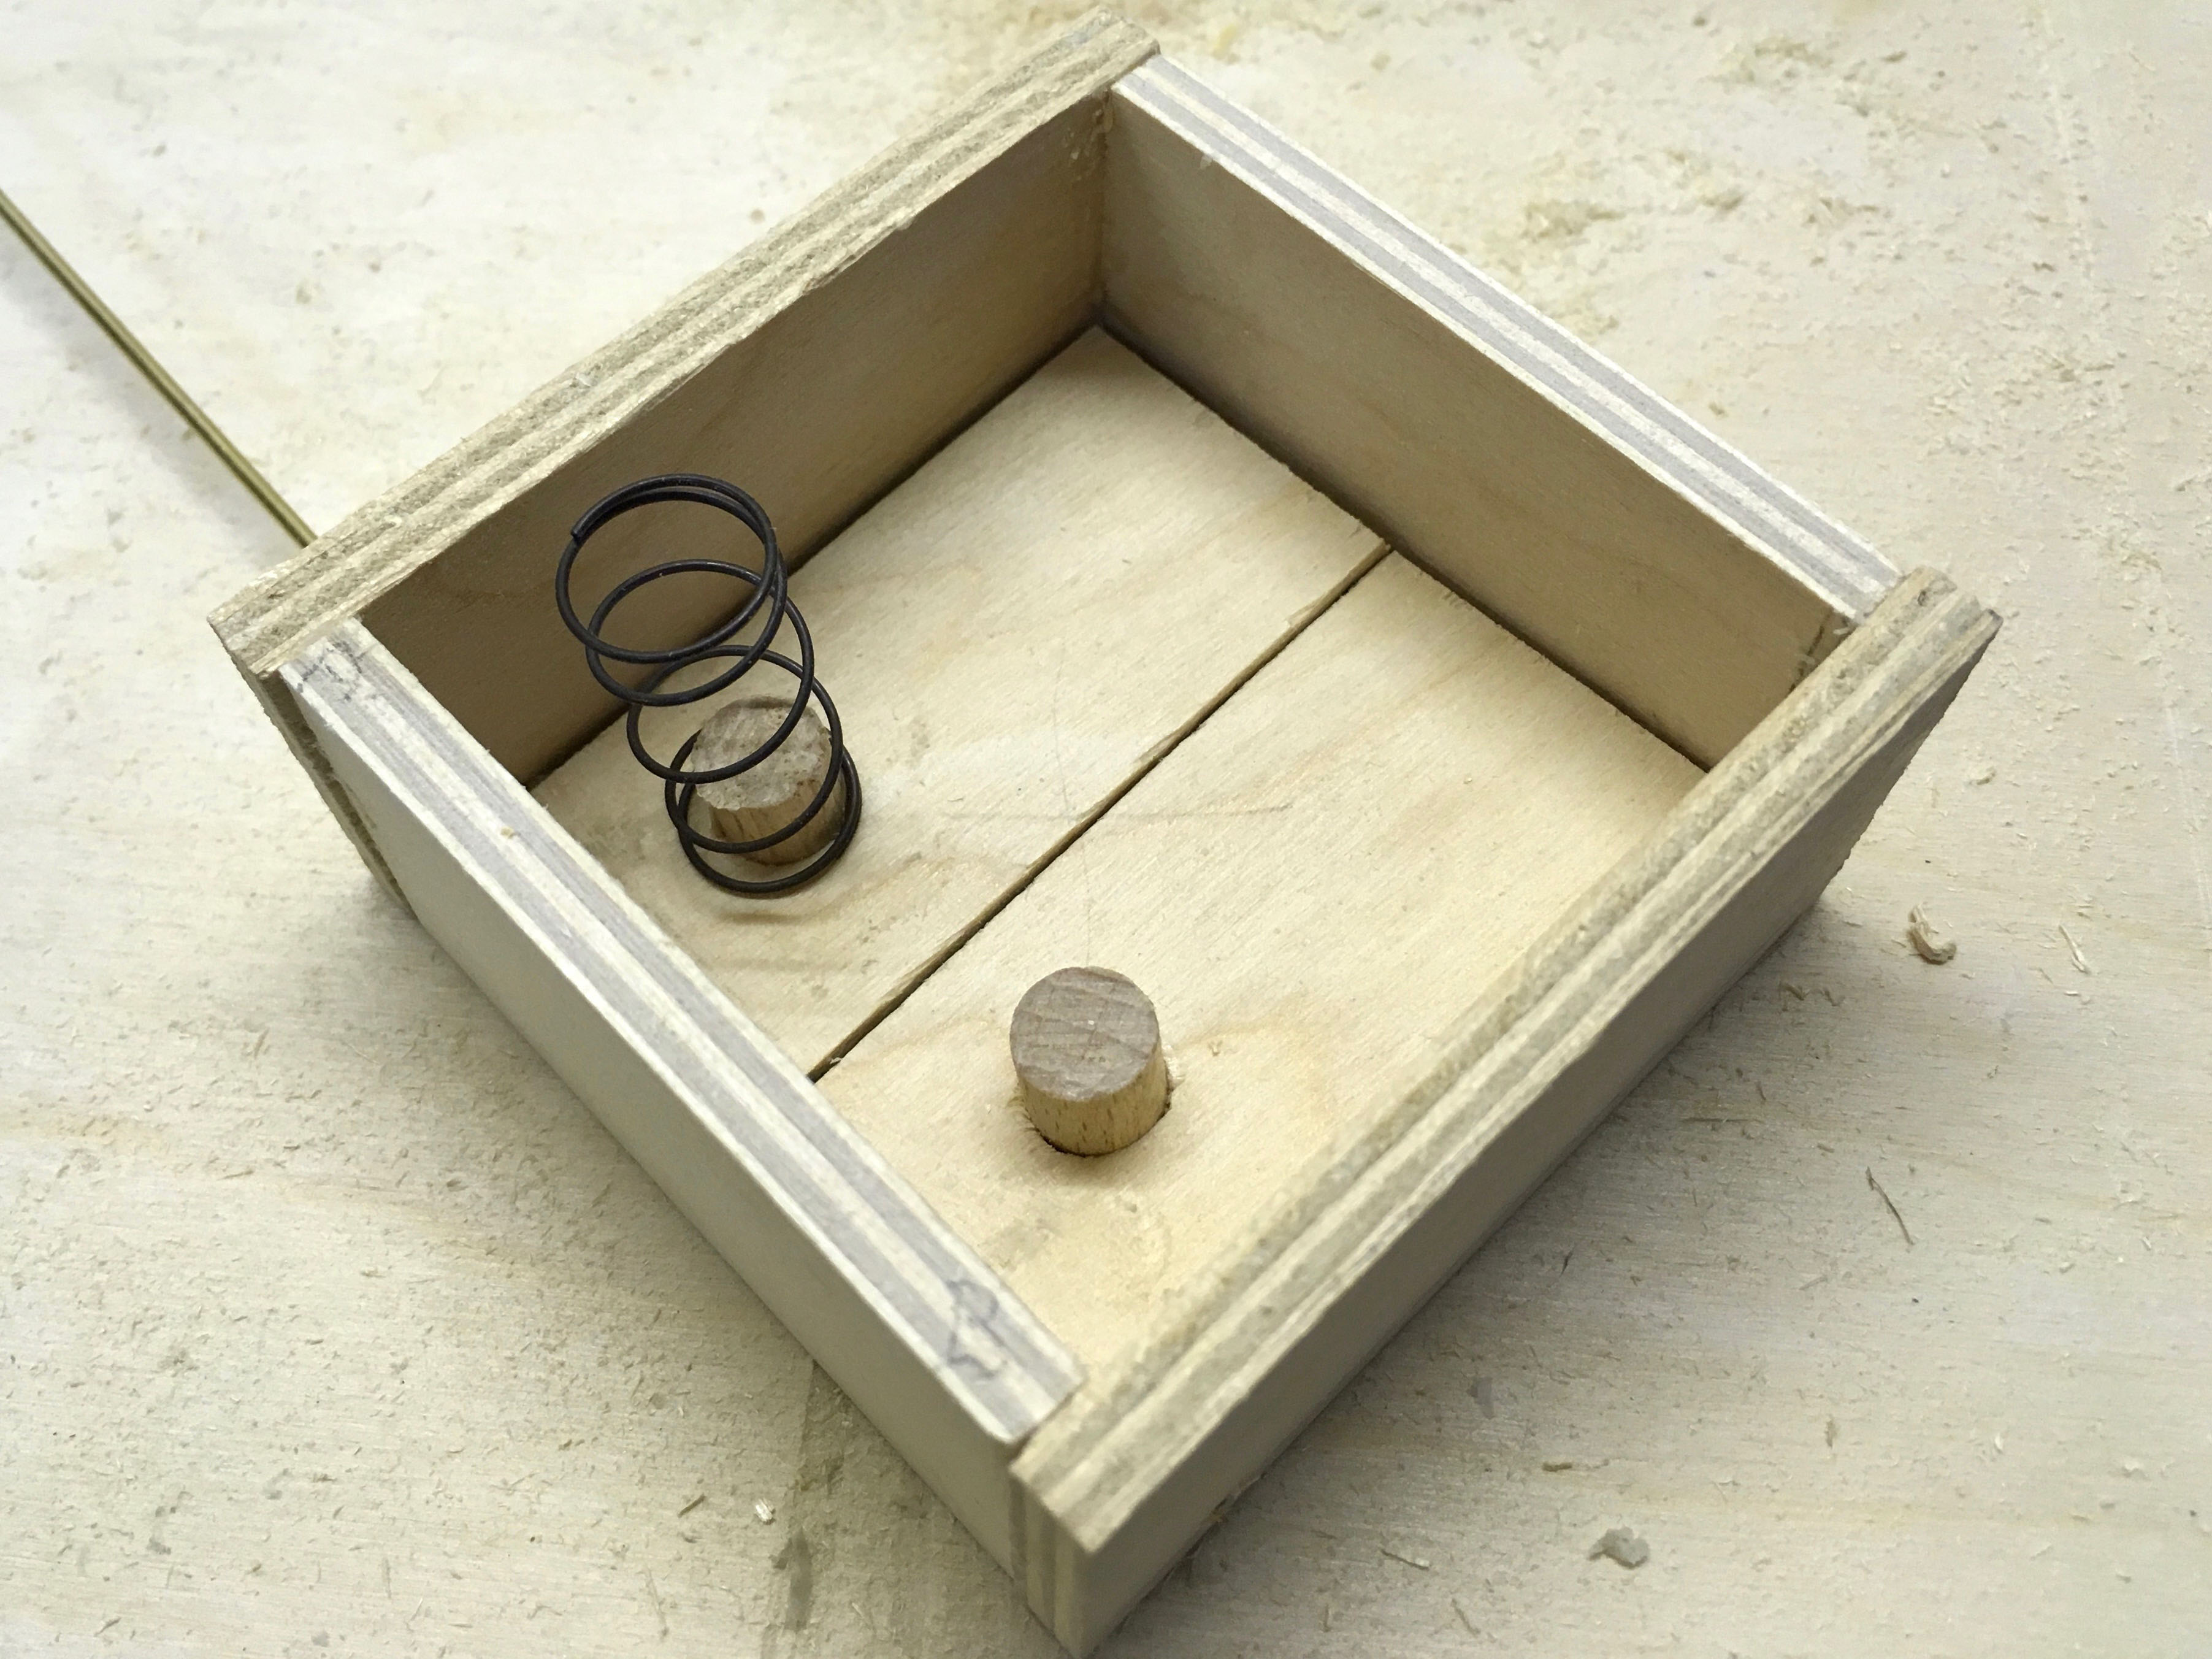
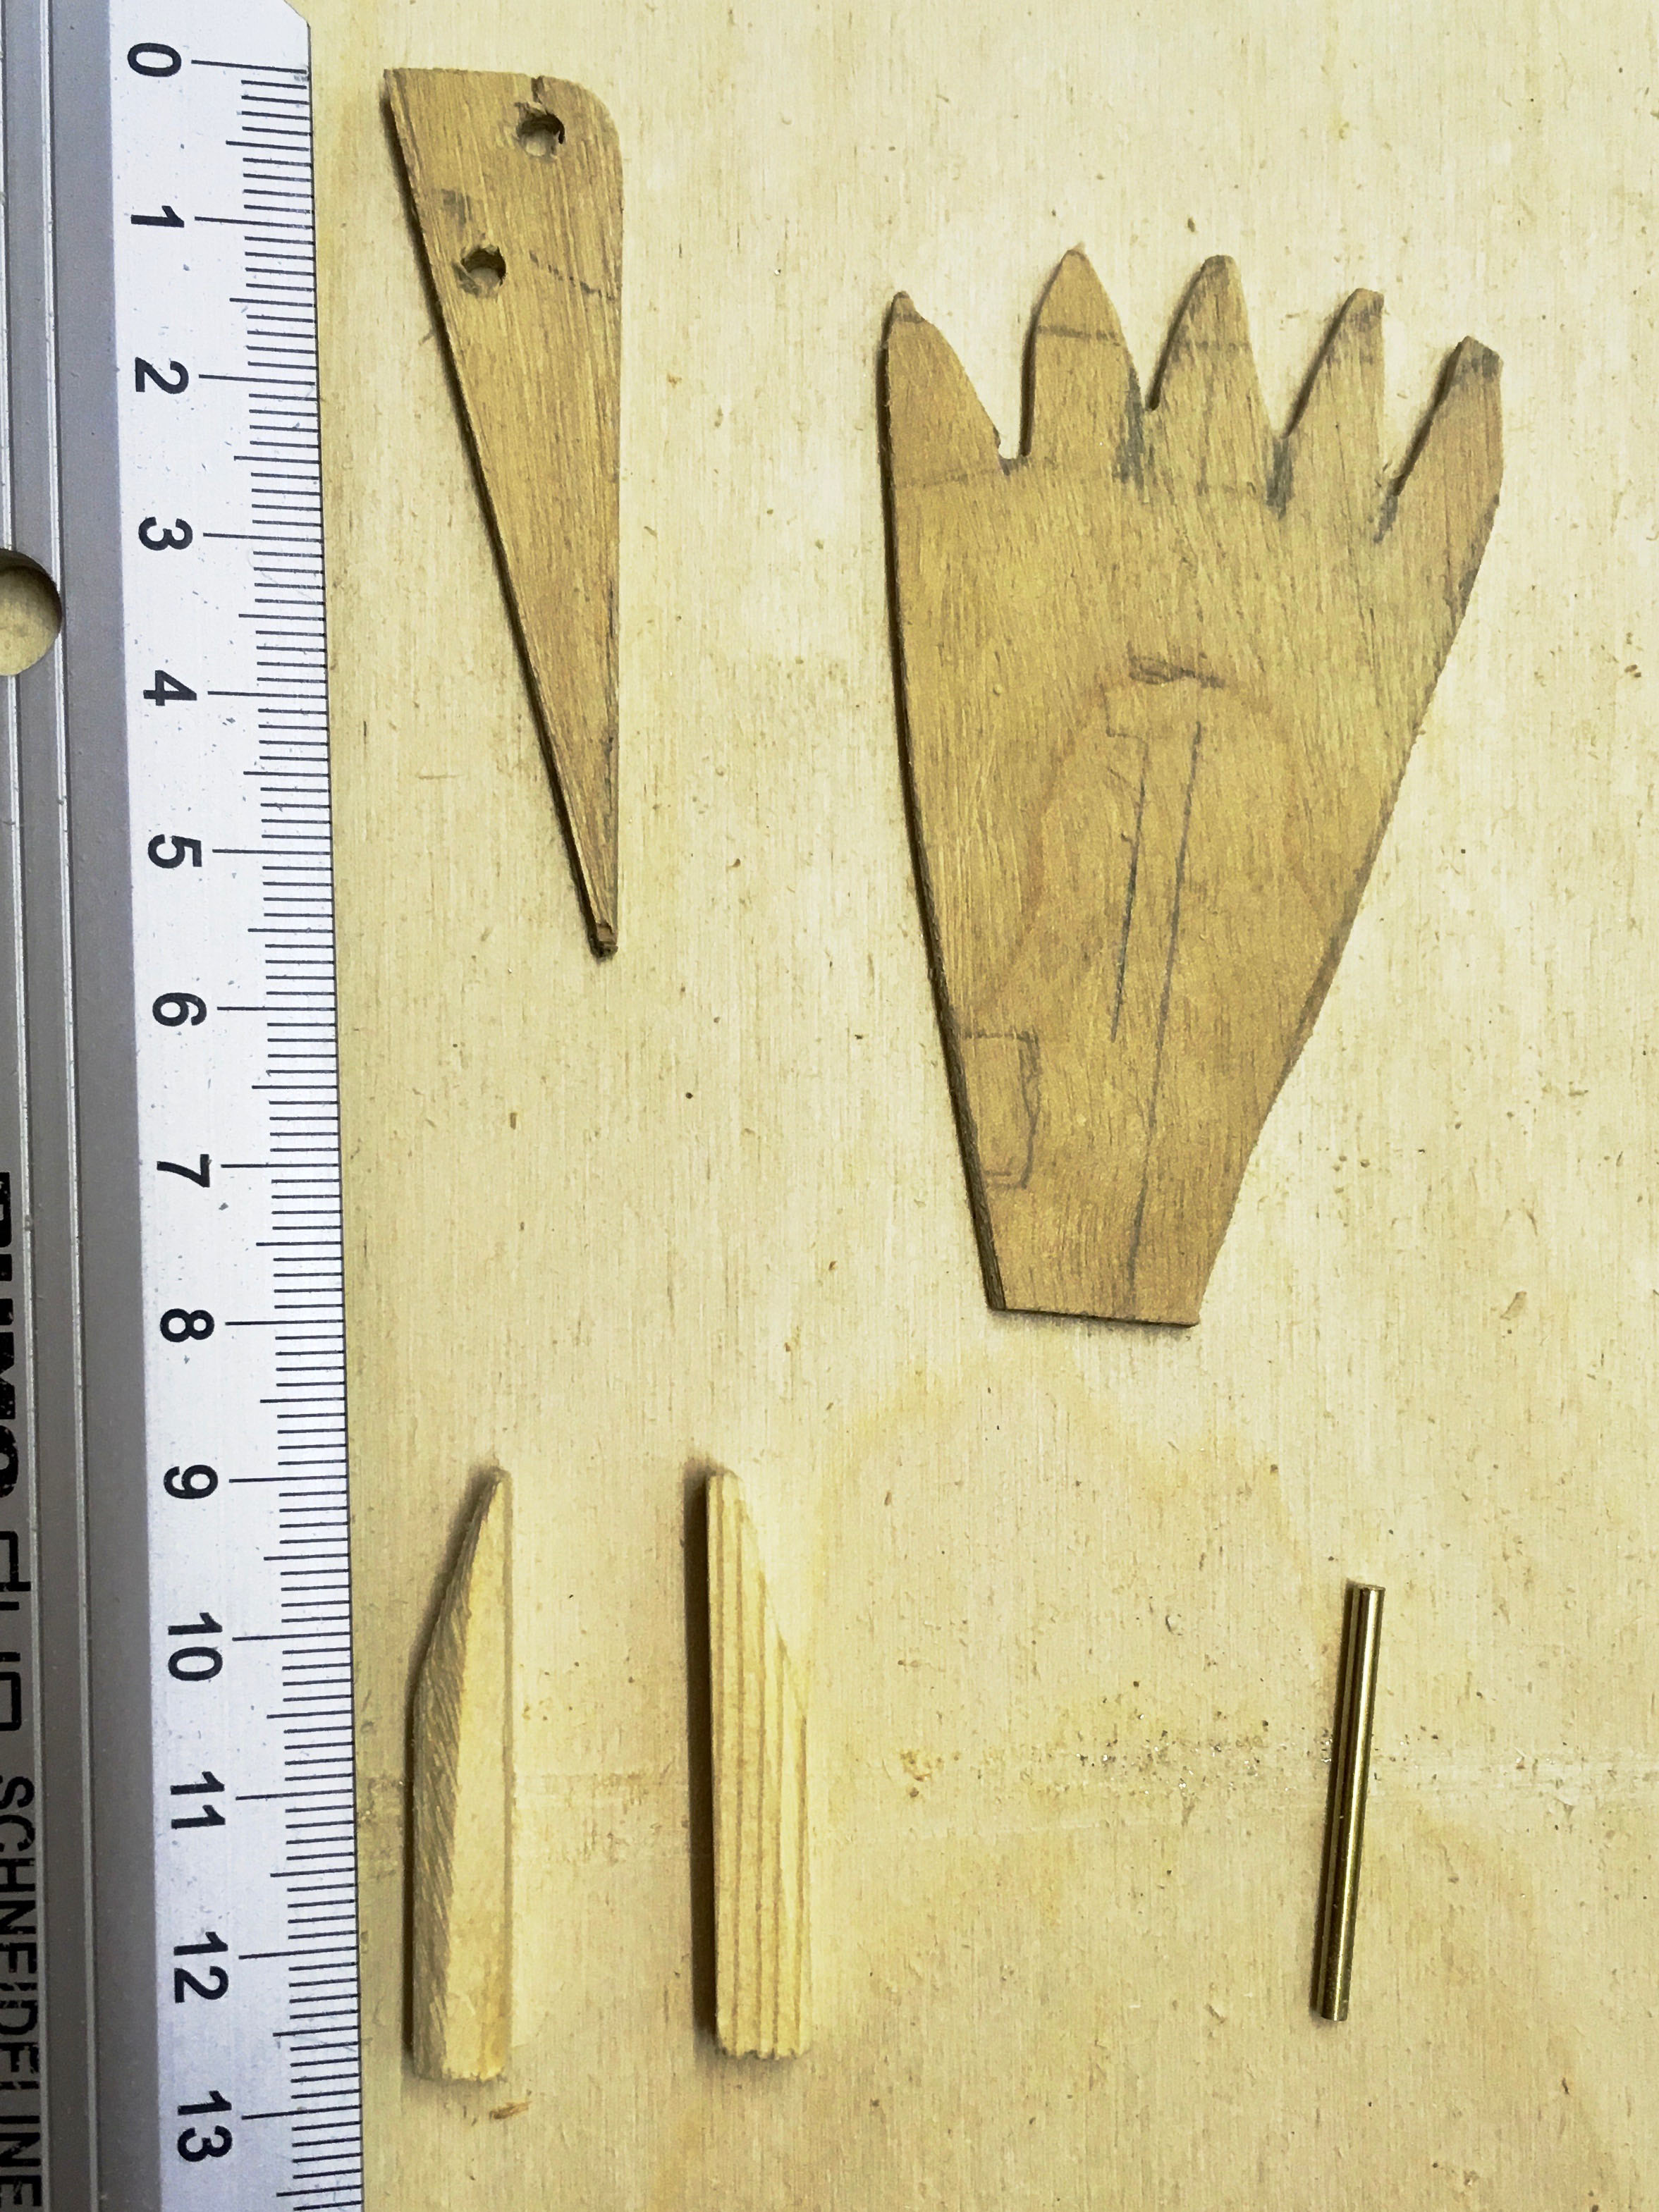
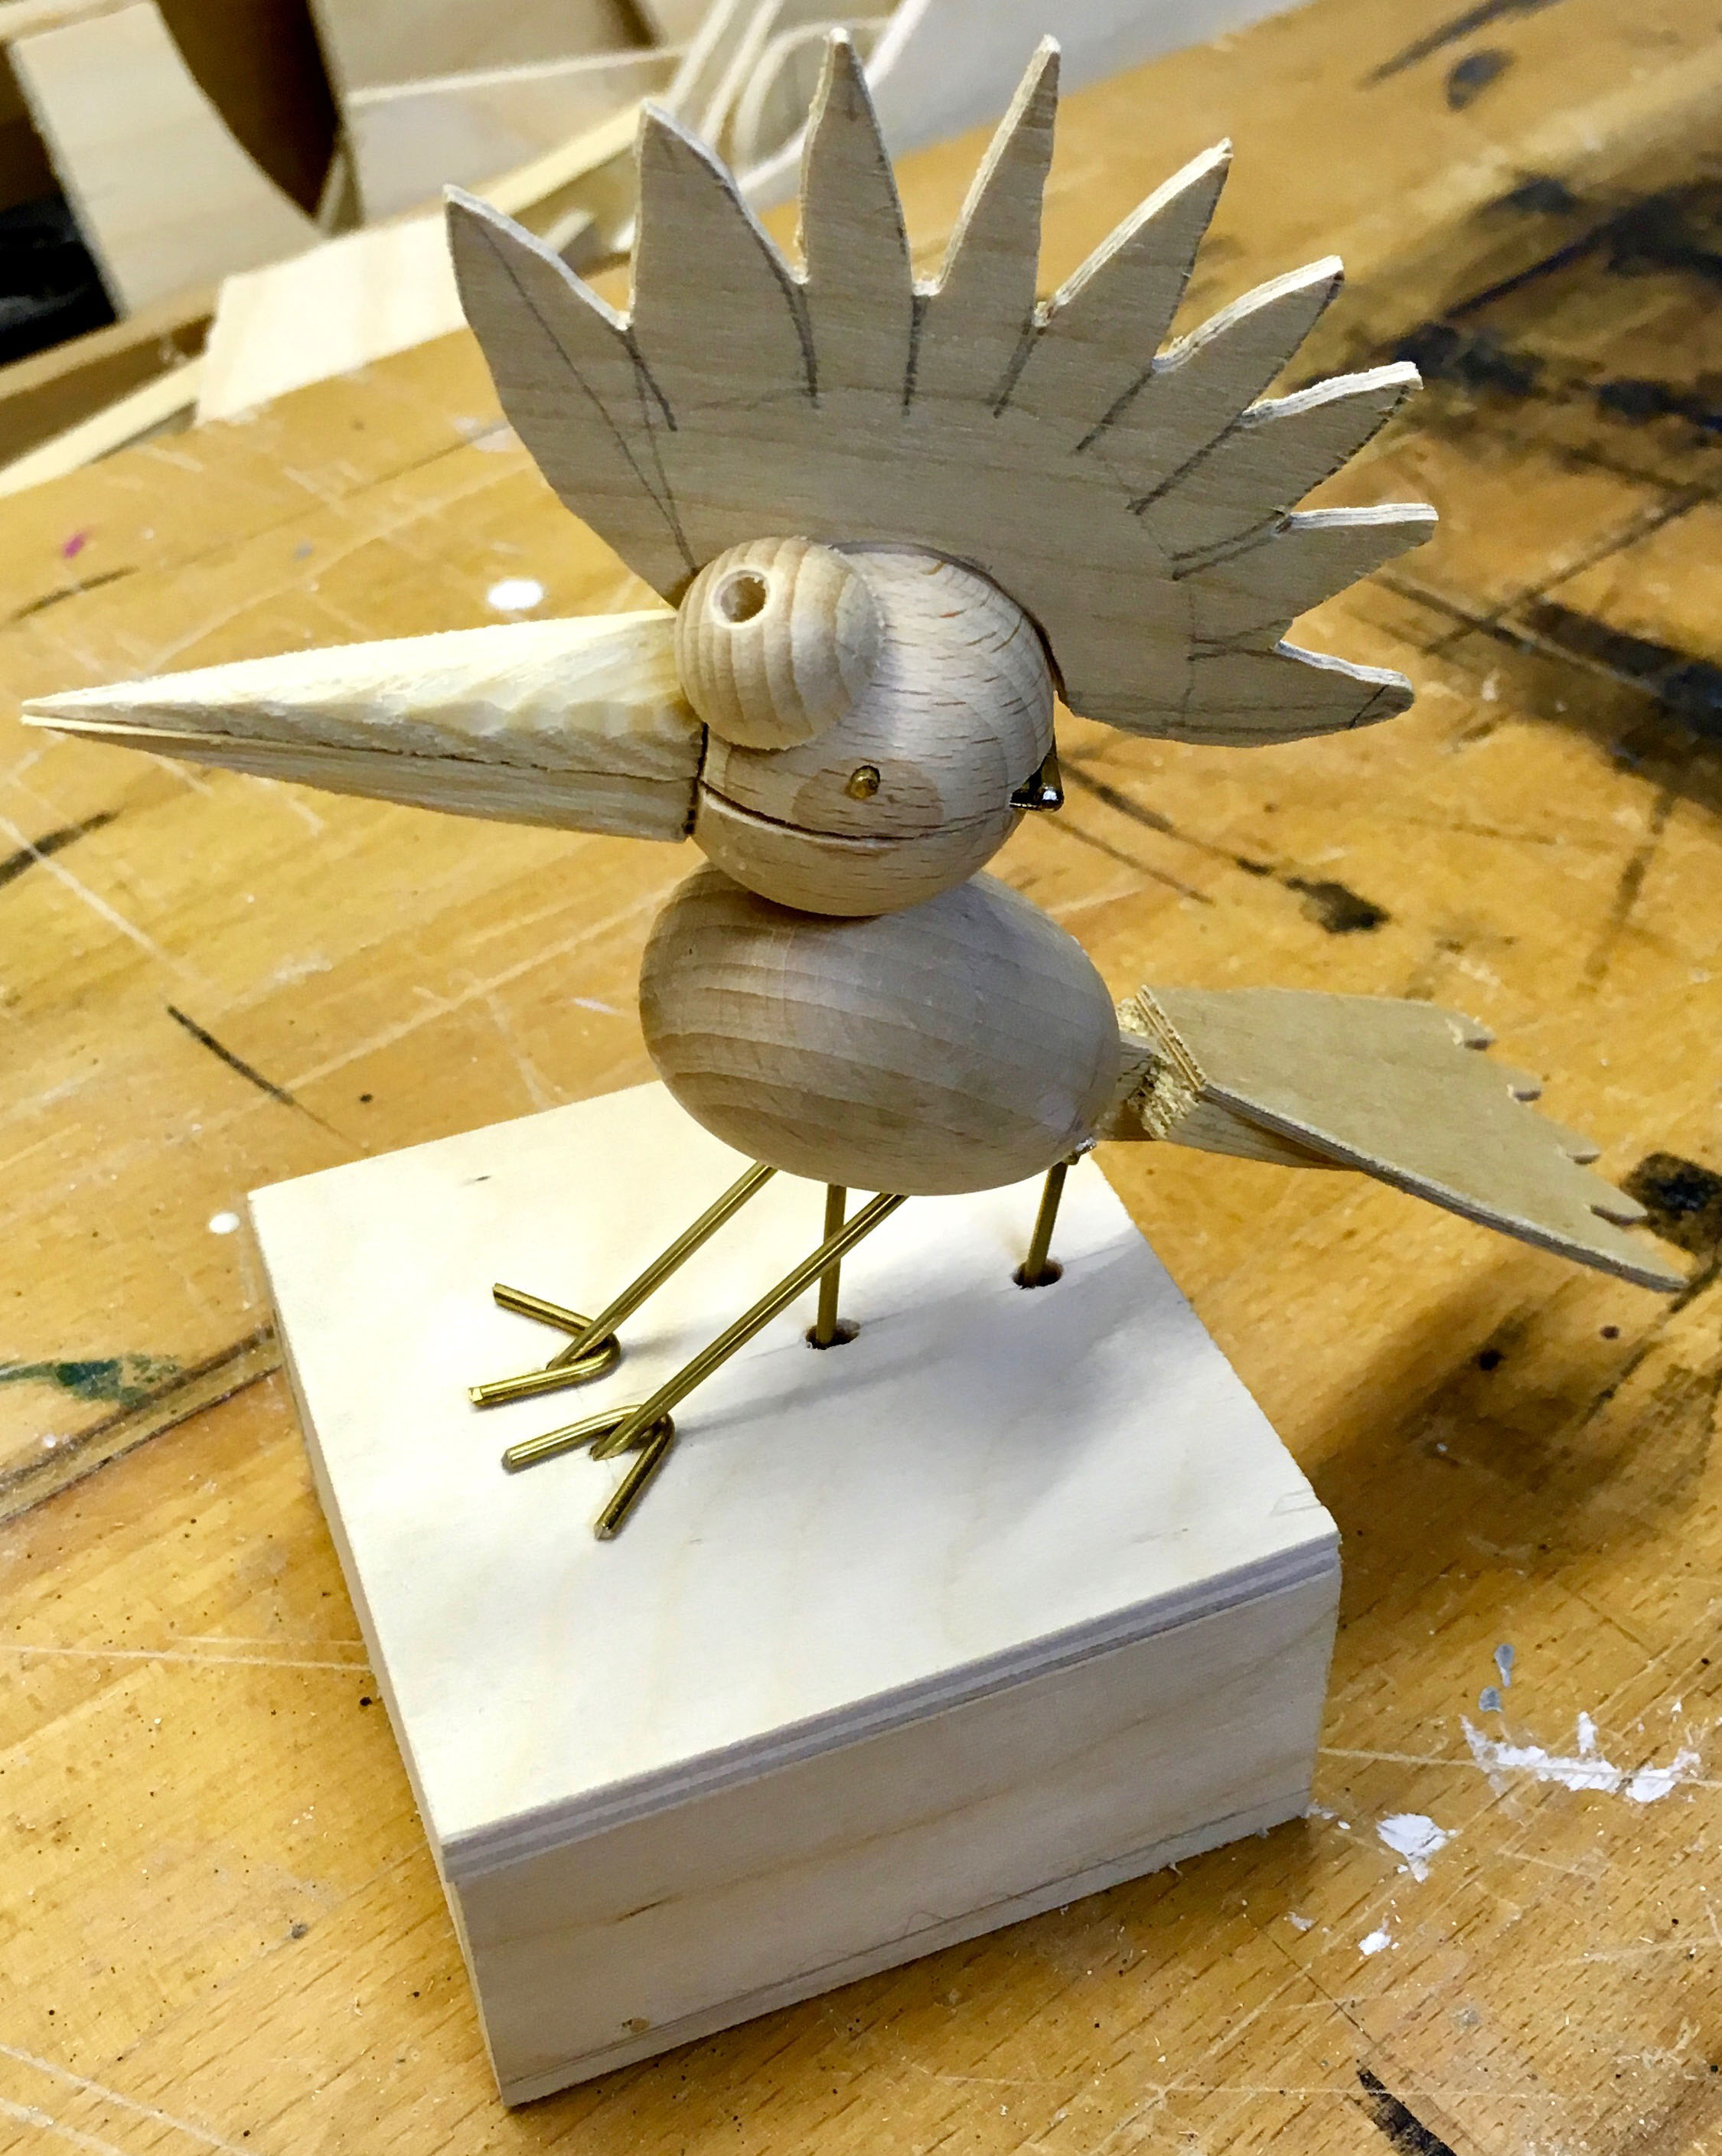
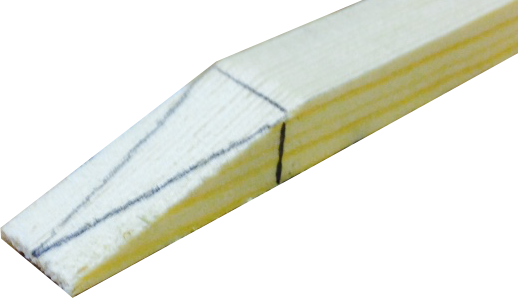
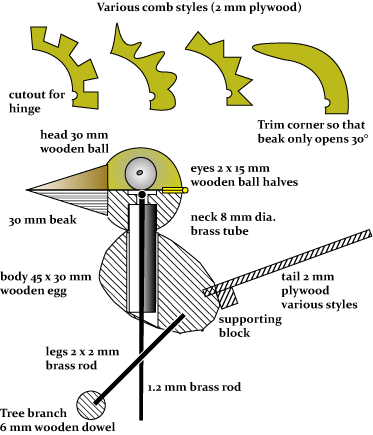
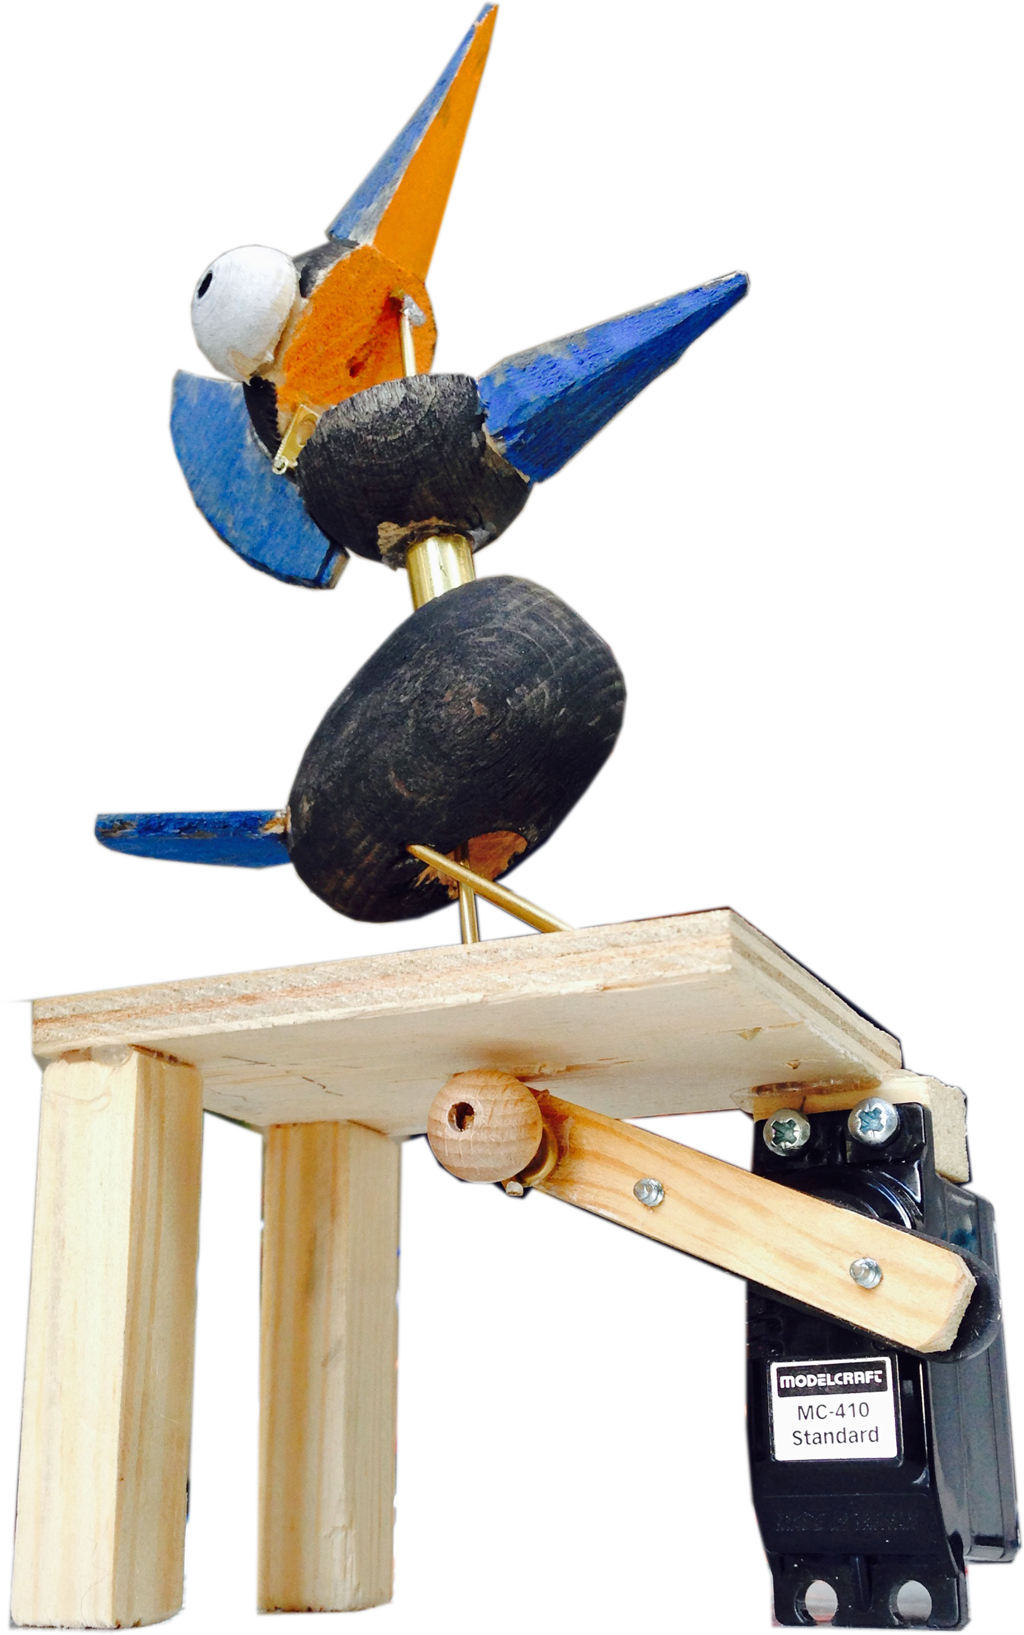
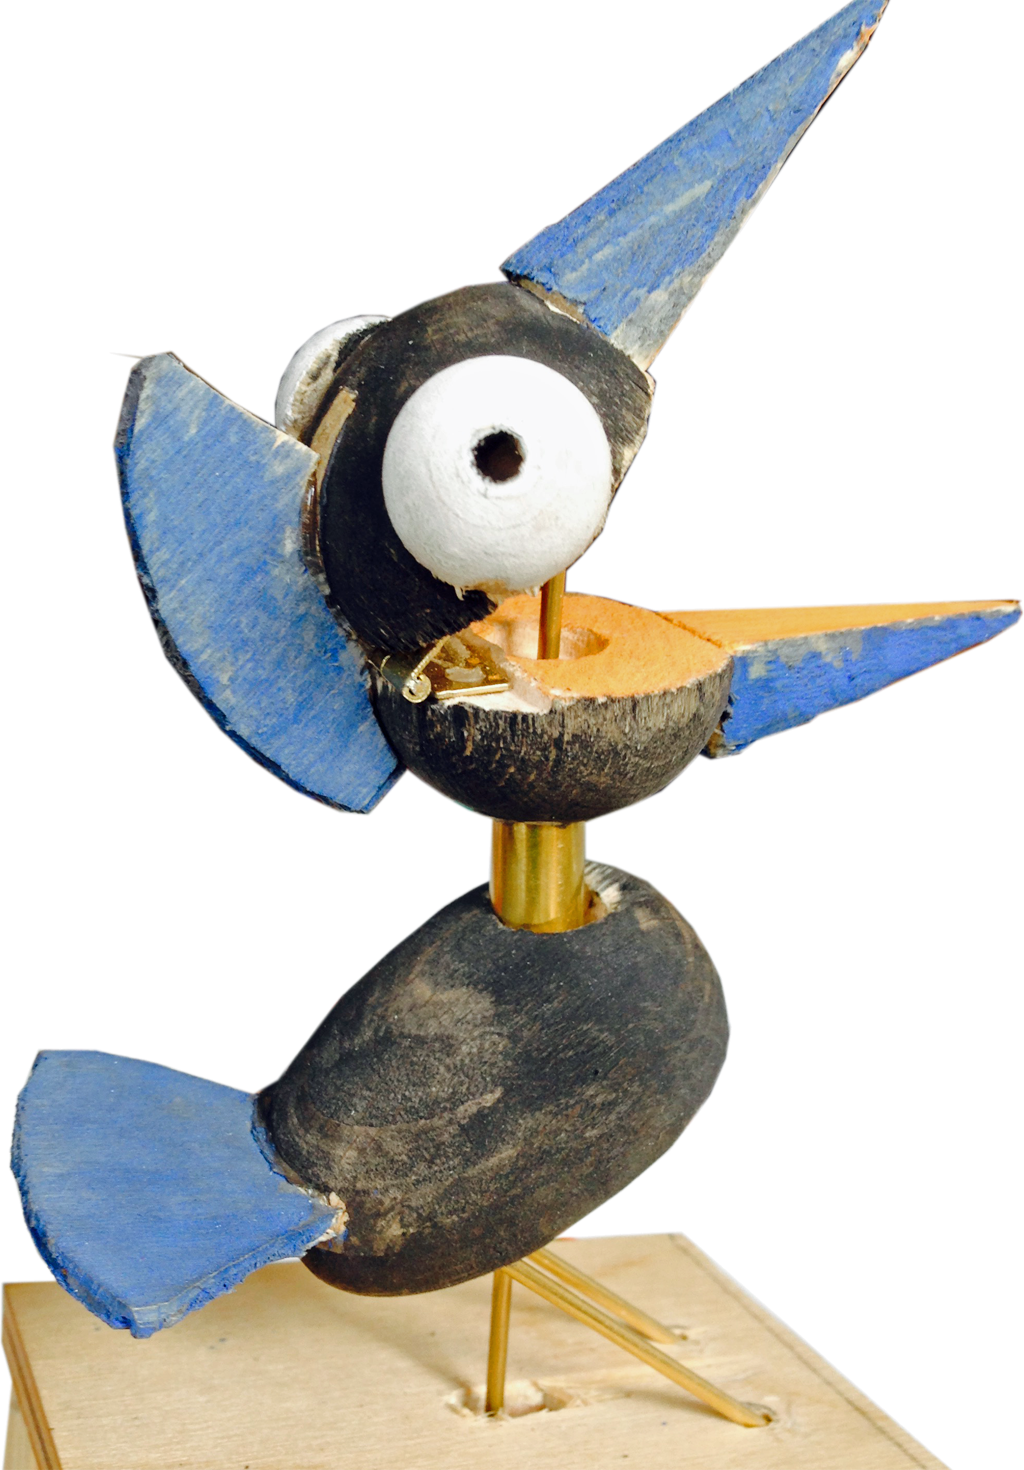
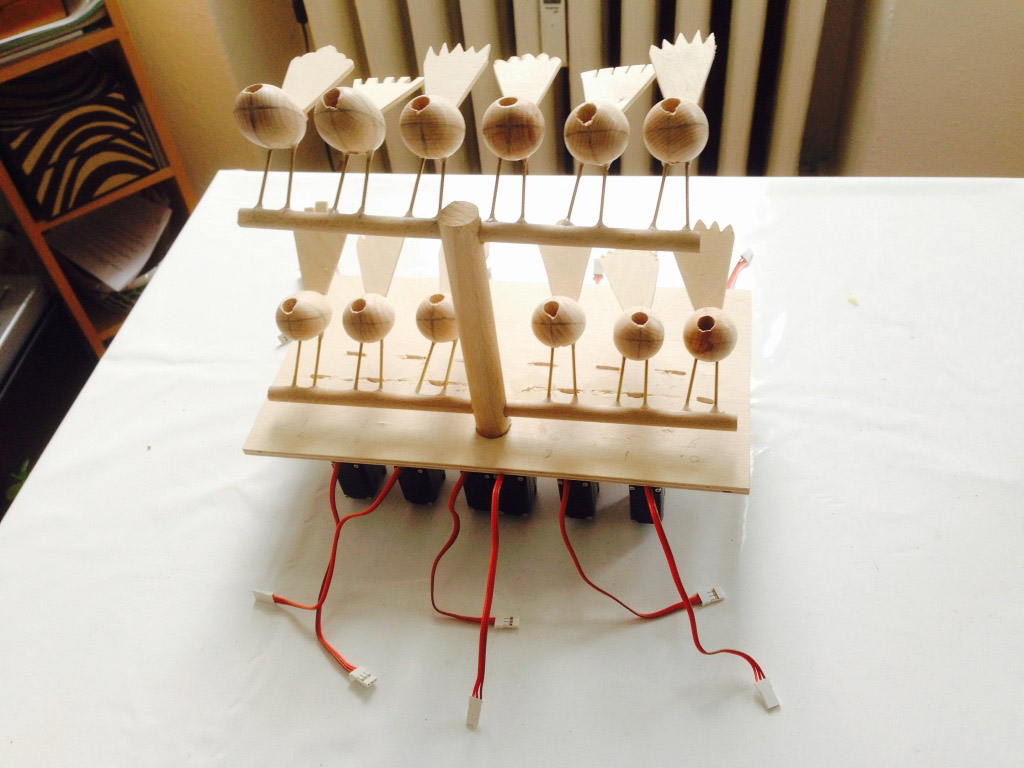
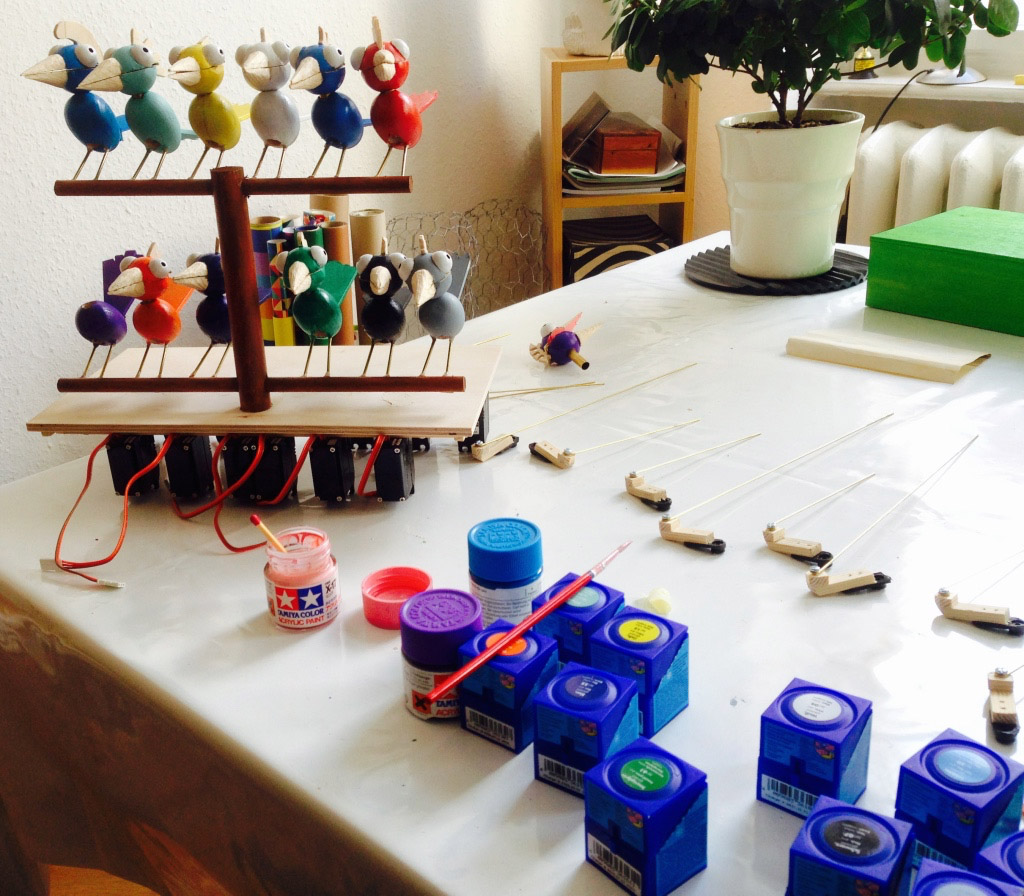
How should it work
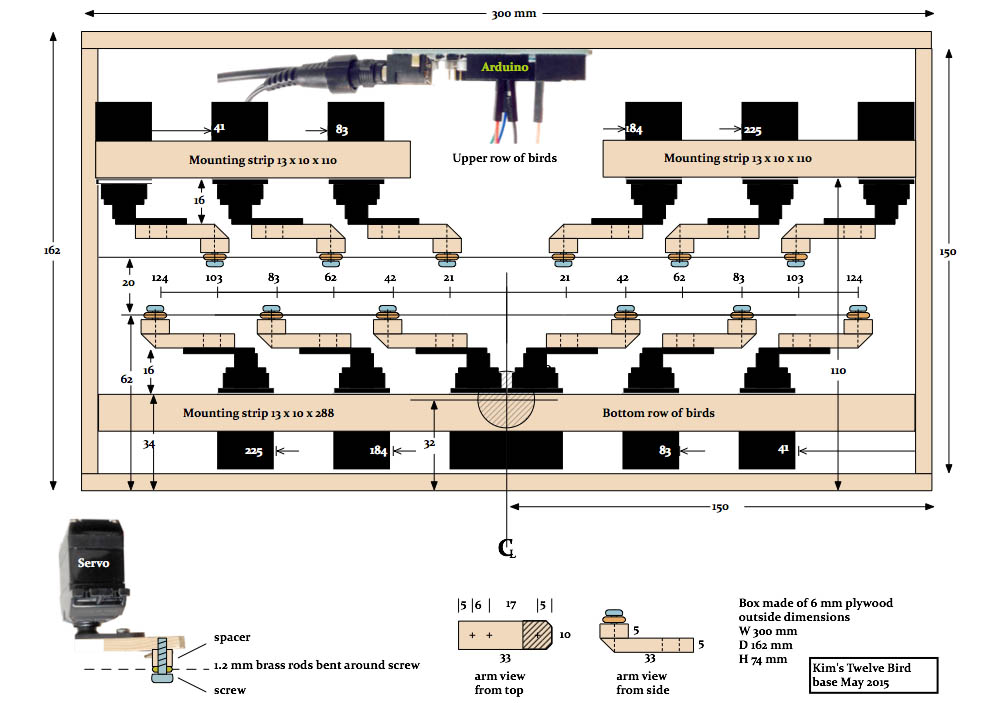
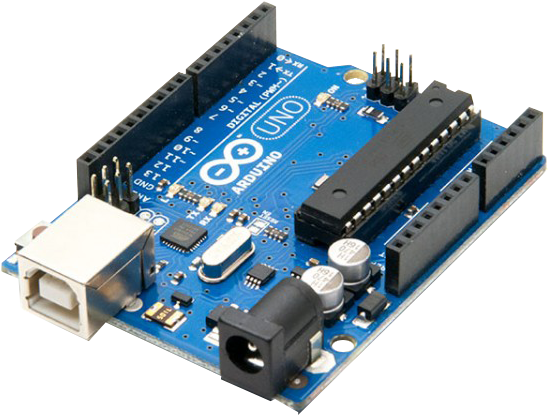
An Arduino Uno is connected to two HRLV-MaxSonar®-EZ1 ultrasonic sensors, which should measure the range of the nearest objects they can find. By simple triangulation, the single servo controlling the eyes should point them in the right direction.
What’s the problem?
The servos do not provide a stable range reading. The value jumps around for no discernible reason. Maybe the two servos interfere with one another? Theoretically, they are enabled one after the other to prevent that from happening. I need to spend more time diagnosing this. Maybe I should change to a Raspberry Pi and use face recognition?
Strong suspicion
Arduino serial i/f and servo i/f are interfering with one another.
Search using “https://duckduckgo.com/?q=arduino+serial+servo+problem+interrupt&t=osx”
See ServoTimer2 http://forum.arduino.cc/index.php/topic,21975.0.html
Source code
/****************************************************
* Read the serial output from two ultrasonic sensors
* See http://www.maxbotix.com/Ultrasonic_Sensors/MB1013.htm
* Kim Aug 2014
****************************************************/
#include // Include the library for serial interfaces
#include // Include the library for servos
// Which pins are used for what?
#define txPinLeft 3 // Pin configured but not used as nothing is sent to sensor
#define rxPinLeft 8 // Pin used for serial interface for left MB1013 ultrasonic sensor
// — connects to TX on the ultrasonic sensor
#define txPinRight 5 // Pin configured but not used as nothing is sent to sensor
#define rxPinRight 9 // Pin used for serial interface for right ultrasonic sensor
// — connects to TX on the ultrasonic sensor
#define pinToControlLeftSensor 13 // Pin to enable the left sensor
// — connects to RX on sensor
#define pinToControlRightSensor 12 // Pin to enable the right sensor
// — connects to RX on sensor
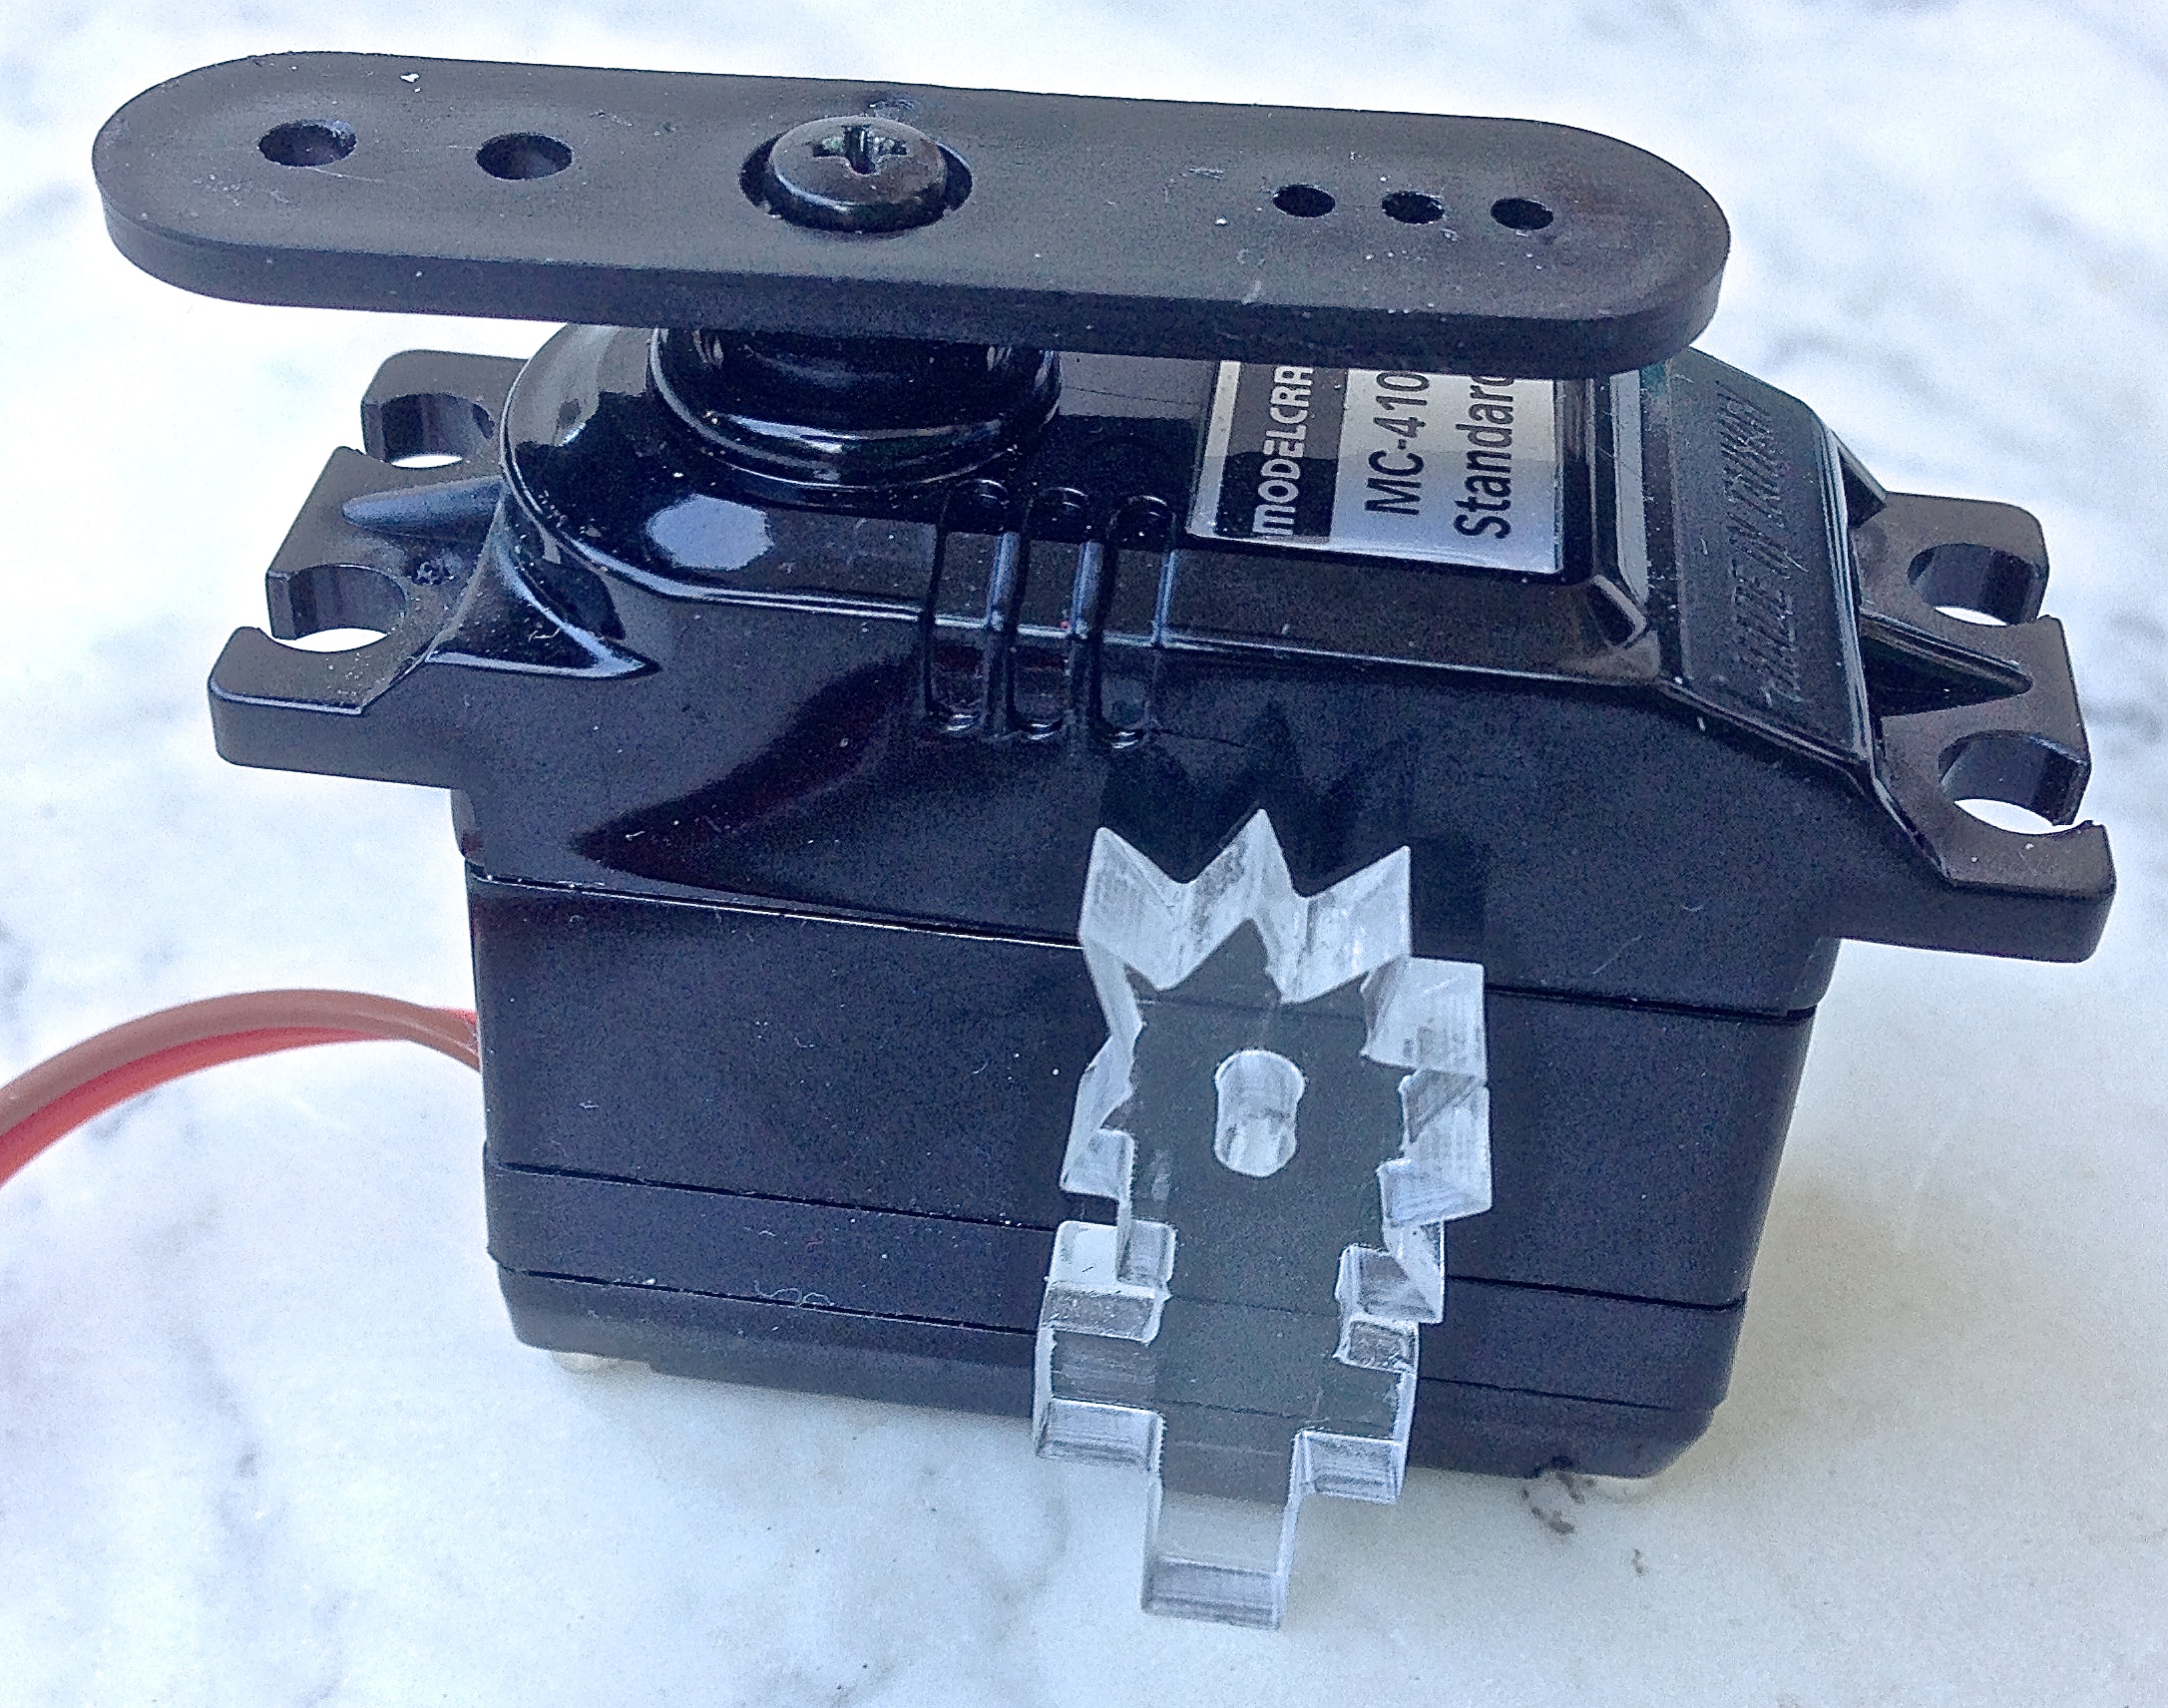
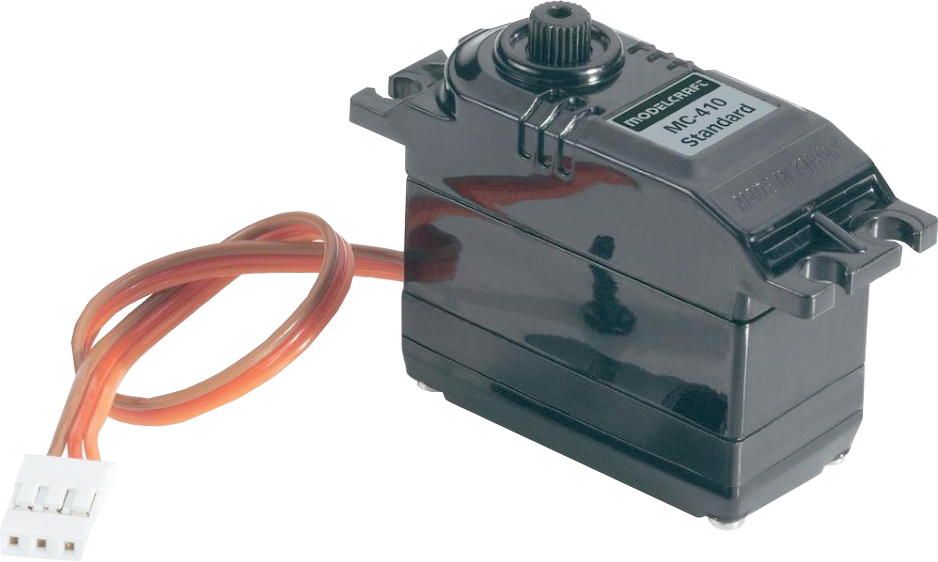
#define pinToControlServo 10 // Pin to control the servo
// — connects to orange on the MC410 servo
// — brown on MC410 connects to GND
// — red on MC410 to +5 V
/******************************************************
* MB1013 Ultrasonic pins
* GND connect to GND
* +5V connect to +5 V
* TX left connect to Ard pin 2 right to Ard pin 4
* RX left connect to Ard pin 13 right to Ard pin 12
* AN not connected – analogue output
* BW held low to enable serial interface
******************************************************/
SoftwareSerial serialLeft (rxPinLeft, txPinLeft, true); // Serial port to receive data from left sensor
SoftwareSerial serialRight (rxPinRight, txPinRight, true); // Serial port to receive data from right sensor
// MB1013 output is inverted, so true must be set.
Servo myservo; // Create servo object to control a servo
int lastRangeLeft, lastRangeRight, newRangeLeft, newRangeRight; // Help to elimate odd values
int lastServoPosition =0; // Where the servo was last left least time it was moved
void setup ()
{
Serial.begin (9600); // Start serial port for debug output
serialLeft.begin (9600); // Start serial port for left ultrasonic sensor
serialRight.begin (9600); // Start serial port for right ultrasonic sensor
pinMode (pinToControlLeftSensor, OUTPUT); // Initialize the control pins as outputs
pinMode (pinToControlRightSensor, OUTPUT);
myservo.attach (pinToControlServo); // Attach the servo to the servo object
}
void loop()
{
int servoPosition;
int rangeDifference;
int rangeLeft = readLeft (); // Read left US sensor
int rangeRight = readRight(); // Read right US sensor
Serial.print (“L “); // debug output
Serial.print (rangeLeft); // debug output
Serial.print (” R “); // debug output
Serial.print (rangeRight); // debug output
/*********************************************
* Calculate difference between the sensors
*********************************************/
rangeDifference = rangeLeft – rangeRight; // What’s the difference in range from the two sensors?
rangeDifference = constrain (rangeDifference, -10, 10); // Limit range difference
Serial.print (” range difference “); // — debug output —
Serial.print (rangeDifference); // — debug output —
servoPosition = map (rangeDifference, -10, +10, 60, 135); // Scale the offset to use it with the servo (value between 0 and 180)
if (lastServoPosition != servoPosition) moveServoTo (servoPosition); // Don’t wake up the servi if there is no need
Serial.print (” servoPosition “); // — debug output —
Serial.println (servoPosition); // — debug output —
}
/********************************************************************
* Function to move the servo at a reasonable speed & keep it quiet
********************************************************************/
void moveServoTo (int servoPosition)
{
int servoDelay = 20; // 10 is OK
myservo.attach (pinToControlServo); // Activate the servo output
if (lastServoPosition > servoPosition)
{
while (lastServoPosition > servoPosition)
{
myservo.write (lastServoPosition–);
delay(servoDelay);
}
}
else
{
while (lastServoPosition < servoPosition)
{
myservo.write (lastServoPosition++);
delay(servoDelay);
}
}
myservo.detach (); // Seems to stop the servo from chattering
}
/***************************************************************
* Function to read the left ultrasonic sensor via a serial port
***************************************************************/
int readLeft()
{
char inData [4];
int index = 0;
digitalWrite (pinToControlLeftSensor, HIGH); // Start the sensor ranging
serialLeft.listen (); // To listen on a port, select it:
while (serialLeft.available () == 0) // Wait for char to be available http://arduino.cc/en/Serial/available
{
}
// Then keep reading serial input until an R appears marking the start of data
char rByte = serialLeft.read ();
while ( rByte != ‘R’)
{
rByte = serialLeft.read ();
}
// Keep looping until four range characters read from sensor
while (index < 4) { if (serialLeft.available () > 0) // When a character is available, put in the array
{
inData [index] = serialLeft.read ();
index++;
}
}
digitalWrite (pinToControlLeftSensor, LOW); // Stop the sensor ranging
return atoi (inData); // Change array of string data into an integer for return
}
/****************************************************************
* Function to read the right ultrasonic sensor via a serial port
****************************************************************/
int readRight ()
{
char inData [4];
int index = 0;
digitalWrite (pinToControlRightSensor, HIGH); // Start the sensor ranging
serialRight.listen (); // To listen on a port, select it
while (serialRight.available () == 0) // Wait for char to be available
{
}
// Then keep reading serial input until an R appears marking the start of data
char rByte = serialRight.read ();
while ( rByte != ‘R’)
{
rByte = serialRight.read ();
}
// Keep looping until four range characters read from sensor
while (index < 4) { if (serialRight.available () > 0) // When a character is available, put in the array
{
inData [index] = serialRight.read ();
index++;
}
}
digitalWrite (pinToControlRightSensor, LOW); // Stop the sensor ranging
return atoi (inData); // Change array of string data into an integer for return
}
/************************************************************************************************************
HRLV-MaxSonar®-EZTM pins – see http://www.maxbotix.com/documents/HRLV-MaxSonar-EZ_Datasheet.pdf
*************************************************************************************************************
Pin 1
Temperature sensor connection
—————————–
Leave this pin unconnected if an external temperature sensor is not used.
Pin 2
Pulse width output
——————
This pin outputs a pulse width representation of the distance with a scale factor
of 1 uS per mm. The output range is 300 uS for 300 mm to 5000 uS for 5000 mm.
The pulse width output is up to 0.5% less accurate then the serial output.
Pin 3
Analog voltage output
———————
On power-up, the voltage on this pin is set to 0V, after which, the voltage on this pin corresponds to the
latest distance measured. The scale factor is (Vcc/5120) per 1 mm. The resolution of the distance is 5 mm.
This is typically within ±10 mm of the serial output.
Using a 10 bit analog to digital convertor, one can read the analog voltage bits (i.e. 0 to 1024) directly
and just multiply the number of bits in the value by 5 to yield the range in mm.
For example, 60 bits corresponds to 300 mm (where 60 * 5 = 300),
and 1000 bits corresponds to 5000-mm (where 1000 * 5 = 5000-mm).
A 5 V power supply yields~0.977 mV per 1 mm.
When powered with 5 V, the output voltage range is 293 mV for 300 mm, and 4.885 V for 5000 mm.
Pin 4
Ranging start/stop
——————
This is internally pulled high. If high, the sensor will continually measure and output the range data.
If low, the sensor will stop ranging.
Take high for 20 uS or longer to initiate a range reading.
If the sensor sees that the RX pin is low after each range reading, then the range can be obtained every 100 mS.
If pin 4 is constantly high, the sensor will range every 100 mS, but the output will pass through a 2 Hz filter.
Pin 5
Serial output
————-
By default, the serial output is RS232 format (0 to Vcc) with a 1 mm resolution.
The output is “R”, followed by four ASCII characters representing the range in millimeters,
followed by a carriage return (ASCII 13). The maximum distance reported is 5000.
The serial output is the most accurate of the range outputs.
Serial data is sent at 9600 baud, with 8 data bits, no parity, and one stop bit.
Pin 6
V+
—
Positive Power
Pin 7
GND
*/
/* The MC 410 standard servo from Conrad
1 brown wire Gnd
2 red wire VCC
3 orange wire PWM signal
*/


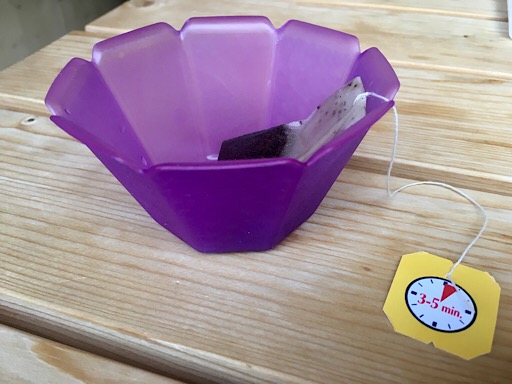 In the evening we walked through Leifers to Gelateria Monny for a delicious ice cream in “disposable” purple plastic pots, which Gerhild then collected following the motto “waste not want not” – especially when it’s purple.


 Today we walked from the camp site to


 , but marmite, French [maʁmit] for a large, covered earthenware or metal cooking pot. British Marmite was originally supplied in earthenware pots, but since the 1920s has been sold in glass jars shaped like the French cooking pot. You learn something new every day!